
How to Organize Kitchen Cabinets: A Room-by-Room Guide That Actually Lasts
Learning how to organize kitchen cabinets quietly upgrades your whole day. When every cabinet opens to something tidy and reachable, cooking feels calmer, mornings move faster, and you stop buying duplicates of things you already own — and you do not need a renovation to get there. You need a method.
This guide walks you through that method, start to finish: declutter with a plan, divide your cabinets into practical zones, and add the few organizers that genuinely earn their keep — shelf risers, pull-outs, stackable containers — instead of gadgets you will never use. By the end, every cabinet will have a job, and keeping it that way will take minutes.
Key Takeaways
- Empty every cabinet and sort items into keep, donate, and discard piles before you reorganize anything.
- Divide cabinets into zones around your cooking habits — prep, cooking, serving, and storage.
- Everyday items belong at eye and waist level; seasonal or rarely used pieces go high or deep.
- Shelf risers, pull-out organizers, and uniform clear containers deliver the biggest organizing payoff.
- A simple label-and-reset routine keeps your cabinets organized for months with almost no effort.
Step 1: Declutter Before You Organize
The most common mistake is skipping the declutter step and buying containers first. Organizers cannot fix overstuffed cabinets — they just hide the problem in prettier boxes. Pull everything out, cabinet by cabinet, and give every item an honest look.
Set up three sorting zones: keep, donate, and discard. Be ruthless with the easy wins first. Toss expired spices, recycle warped plastic containers missing their lids, and donate duplicate gadgets — the second garlic press, the bread maker you used once, the chipped mugs you keep out of guilt. If you have not used something in a year and it is not seasonal, it does not deserve cabinet space.
While the cabinets are empty, wipe down the shelves. It is a small thing, but starting with clean shelves makes the new layout feel intentional, and you will spot sticky residue and crumbs you have been cooking around for months.
Step 2: Divide Your Cabinets Into Zones
Once you know what you own, the secret to organizing like a professional is zoning: grouping cabinets around how you actually cook rather than just filling shelves where they fit. Think of your kitchen in activity zones, and assign each cabinet to one.
The Prep Zone
This is the area near your main counter workspace. Store cutting boards, knives, mixing bowls, and measuring cups here so you can reach everything without crossing the kitchen. A knife drawer insert or a magnetic knife strip on the wall beside this zone keeps sharp tools safe and off the counter.
The Cooking Zone
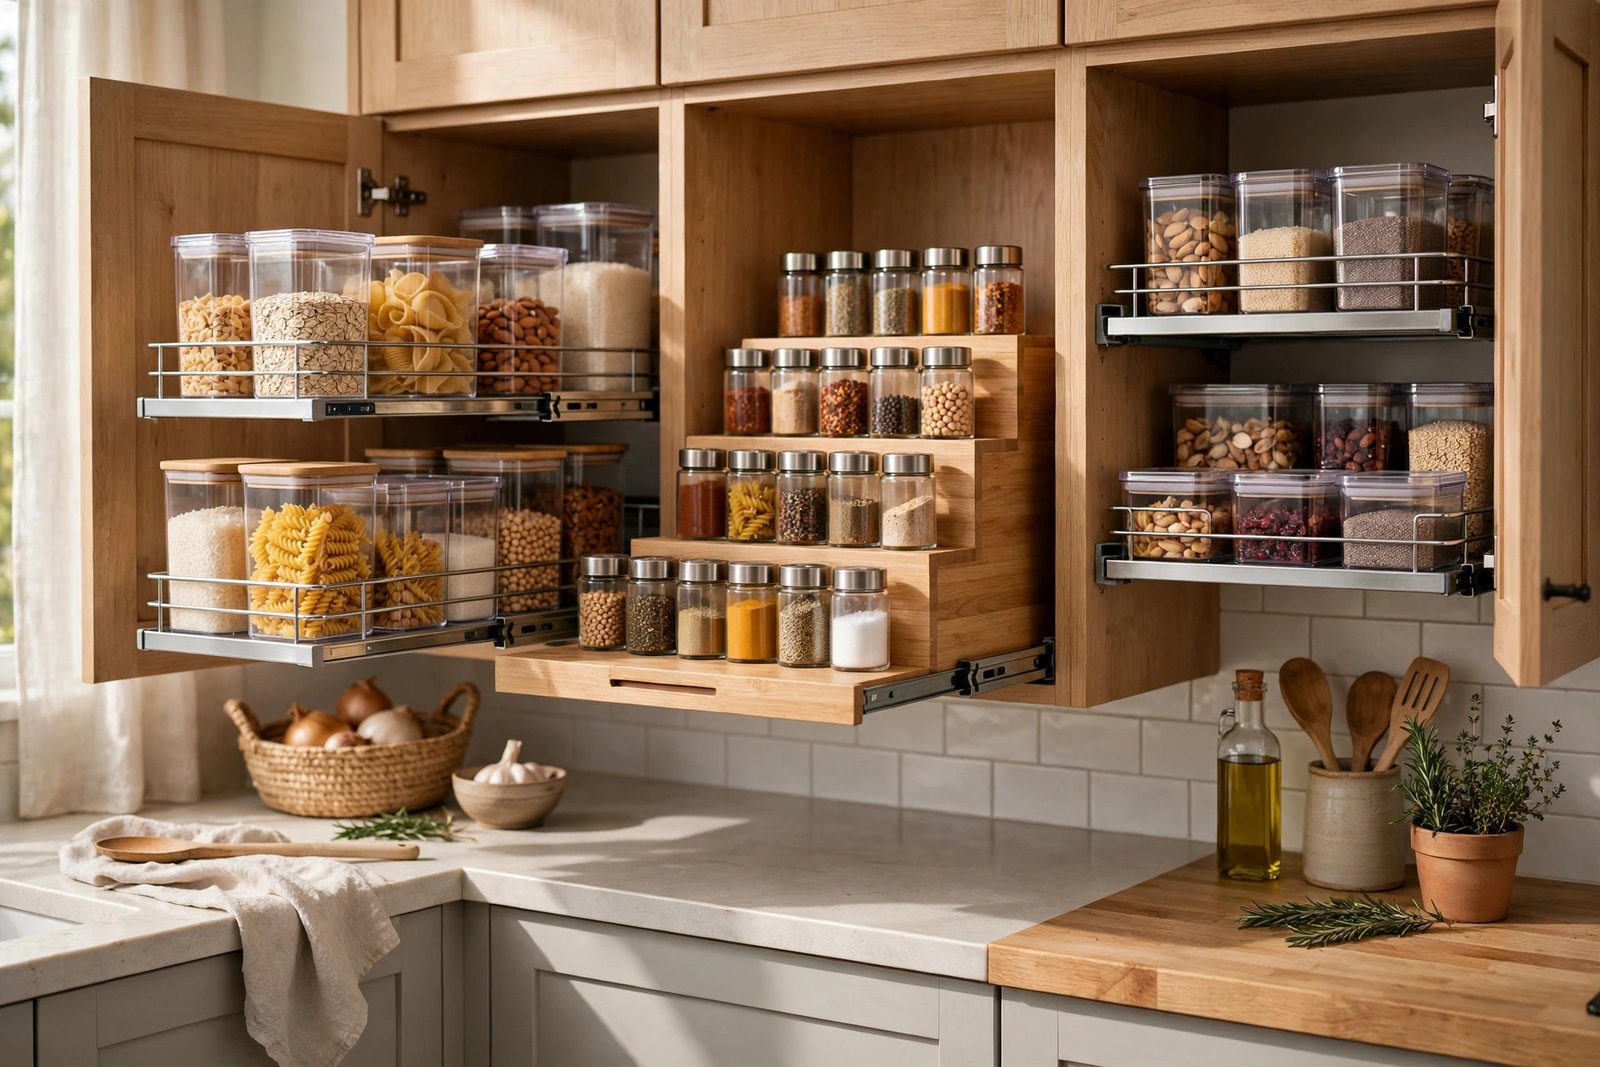
Cabinets around the stove hold pots, pans, cooking oils, and spices. A tiered spice riser lifts the back row so you can actually see what you have — no more discovering three half-used bottles of paprika. Hang frequently used utensils on the wall or keep them in a crock beside the cooktop.
The Serving Zone
Everyday dishes, glasses, and mugs belong here, ideally near the dishwasher. Plate risers or vertical plate organizers prevent the leaning-tower problem and make full stacks easier to lift. If your household drinks a lot of coffee, keep everyday mugs at front-of-shelf so guests can help themselves.
The Storage Zone
Deep cabinets and high shelves are perfect for bulk pantry items, small appliances you use weekly rather than daily, and seasonal pieces like holiday platters. Decant dry goods into uniform airtight containers; they stack neatly and you can see at a glance what is running low. These pantry organization ideas pair beautifully with a well-zoned cabinet system.
Step 3: Master the Layout Rules
Zones tell you where things go; layout rules tell you where within each cabinet they sit. These principles make the difference between cabinets that look organized for a week and ones that stay functional all year.
- Daily items at eye and waist level. The middle shelves are your prime real estate. Everyday plates, your favorite mug, cooking oil — if you reach for it daily, it should never require a step stool or a deep dive.
- Heavy low, light high. Cast-iron skillets, stand mixers, and big stockpots live in lower cabinets; lightweight plastic containers and spare pitchers go up top. Your back will thank you, and so will your shelves.
- Decant and contain. Small loose items — spice packets, tea bags, snack bars — become chaos in an open cabinet. Corral them in small baskets or bins so each category is a single grab instead of a scavenger hunt.
- Give every item a home address. A place for everything is the whole philosophy. When you unload the dishwasher, you should never pause and wonder where something goes.
- Leave breathing room. Aim for about 80 percent full. Overpacked cabinets make everything harder to find and twice as hard to put back, which is how disorganization creeps back in.
The Organizers That Actually Work
You do not need twenty products — you need the right five. These are the organizers professional organizers reach for again and again, and each one solves a specific cabinet problem.
Shelf Risers
The classic cabinet fix. A simple tiered riser doubles the usable surface of a shelf and makes short items — spices, cans, small jars — visible at a glance. Use expandable versions in wide cabinets so the riser fits the exact shelf width, and avoid stacking risers so high that items in back become unreachable.
Pull-Out Organizers
Deep lower cabinets are where items go to disappear. A pull-out sliding basket turns that black hole into a drawer you can see into and reach without kneeling. They are especially transformative under the sink, where cleaning supplies pile up in a wet tangle. Mount the rails level and reserve one pull-out per category.
Stackable Clear Containers
Uniform, airtight containers with matching lids are the backbone of a tidy cabinet. Clear sides show contents instantly, square shapes waste less space than round ones, and a consistent size system stacks like building blocks.
Door-Mounted Racks
The inside of a cabinet door is free storage most people ignore. Slim door-mounted racks hold spice jars, foil and wrap boxes, or measuring cups without taking any shelf space. Just check the clearance — the door needs to close fully without the rack knocking into the shelf contents, so measure depth before you buy.
Drawer Dividers and Turntables
Shallow drawers stay tidy with adjustable dividers, while a lazy Susan turntable is unbeatable for corner cabinets and under-sink spaces where a fixed shelf forces you to reach blindly. One turntable per awkward cabinet ends the back-of-the-cabinet graveyard.
4 Cabinet Fixes You Can Do This Weekend
A two-tier riser ends spice archaeology. Line jars in alphabetical order on the tiers and you will grab the right one in two seconds.
One pull-out caddy per supply type — cleaners, sponges, trash bags — turns a dripping pile into three neat slides.
Store sheet pans, cutting boards, and muffin tins vertically in a rack divider. No more avalanche when you grab one pan.
A mounted lid holder on a cabinet door or a small vertical rack ends the lid-juggling act and frees real shelf space.
How to Keep It Organized: The Maintenance Routine
Organizing is a project; staying organized is a habit. The good news is the habit is tiny. Once every cabinet has a zone and every item has an address, a five-minute reset once a week is enough — wipe a shelf, return strays to their homes, and toss anything that expired.
Labels are the quiet hero here. A simple label on each bin or container removes all guesswork for everyone in the household, including kids and guests. This is the same principle that keeps a tiny closet tidy — our guide to how to organize a small closet applies the identical zone-and-label method to wardrobes.
Finally, adopt the one-in, one-out rule for gadgets and duplicate items. Every new kitchen purchase has to displace something. It sounds strict, but it is the single policy that stops cabinets from drifting back to their old, overstuffed state over the next year.
Frequently Asked Questions
What is the first step in organizing kitchen cabinets?
Declutter first. Empty each cabinet, wipe the shelves, and sort everything into keep, donate, and discard piles. Organizing only works once you know what you own — adding containers to overstuffed cabinets just hides the clutter.
How should I arrange items inside kitchen cabinets?
Group cabinets into zones around your habits — prep, cooking, serving, storage — then place daily items at eye and waist level, heavy items low, and light or rarely used items high. Leave about 20 percent of each shelf empty so everything stays easy to reach and put back.
Which cabinet organizers are actually worth buying?
Shelf risers, pull-out sliding organizers, stackable clear containers, door-mounted racks, and drawer dividers or turntables cover nearly every cabinet problem. Buy for the specific problem you have rather than a full kit up front.
How do I organize deep kitchen cabinets where things get lost?
Use pull-out sliding baskets that turn the depth into a visible drawer, or add a turntable for corner and under-sink cabinets. Store only one category per deep cabinet, and keep rarely used items at the very back.
How often should I reorganize my kitchen cabinets?
A full reorganize is rarely needed more than once a year. With a good layout, a five-minute weekly reset and a quick seasonal check — tossing expired items and rehoming strays — keeps cabinets in shape.
Should I use labels in my kitchen cabinets?
Yes — labels on bins and containers are one of the highest-impact, lowest-cost moves you can make. They keep every household member putting things back in the right spot, which makes the whole system last.
Your Kitchen, Organized for Good
Knowing how to organize kitchen cabinets is really about three moves: declutter first, assign every cabinet a zone, and add only the organizers that solve real problems. Do that once, keep up a five-minute weekly reset, and your cabinets will stay the calm, hardworking backbone of your kitchen.
Ready to start? Pick one cabinet today — the spice shelf or the under-sink cabinet — and give it the full treatment. Once you see the difference, the rest of the kitchen will follow. And while you are at it, our guide on how to clean an oven is the perfect next weekend project.
3 thoughts on “How to Organize Kitchen Cabinets: A Guide That Lasts”