
How to Paint a Room: A Step-by-Step Guide
Painting a room is the single highest-impact home improvement project you can do yourself. For the price of a few gallons of paint and a weekend of work — typically $200–$500 in materials — you can make a tired space feel brand new, fix years of scuffs and fading, and completely change the mood of a room. No other project delivers this much transformation for this little money.
But the difference between a professional-looking paint job and a DIY one is not talent — it is process. Pros invest in preparation, choose the right sheen for each surface, and use techniques like cutting in and back-rolling that beginners skip. This guide walks you through their exact process, from the supply list to the final walk-through.
Key Takeaways
- Preparation — cleaning, patching, sanding, and masking — is 70% of a great paint job.
- Paint the ceiling first, then walls, then trim, working top to bottom in every step.
- Two full coats of quality paint beat three coats of cheap paint every time.
- Keep a wet edge while rolling to avoid visible lap marks and roller lines.
- Buy a sample pot and test colors on the wall — paint looks different in your light than in the store.
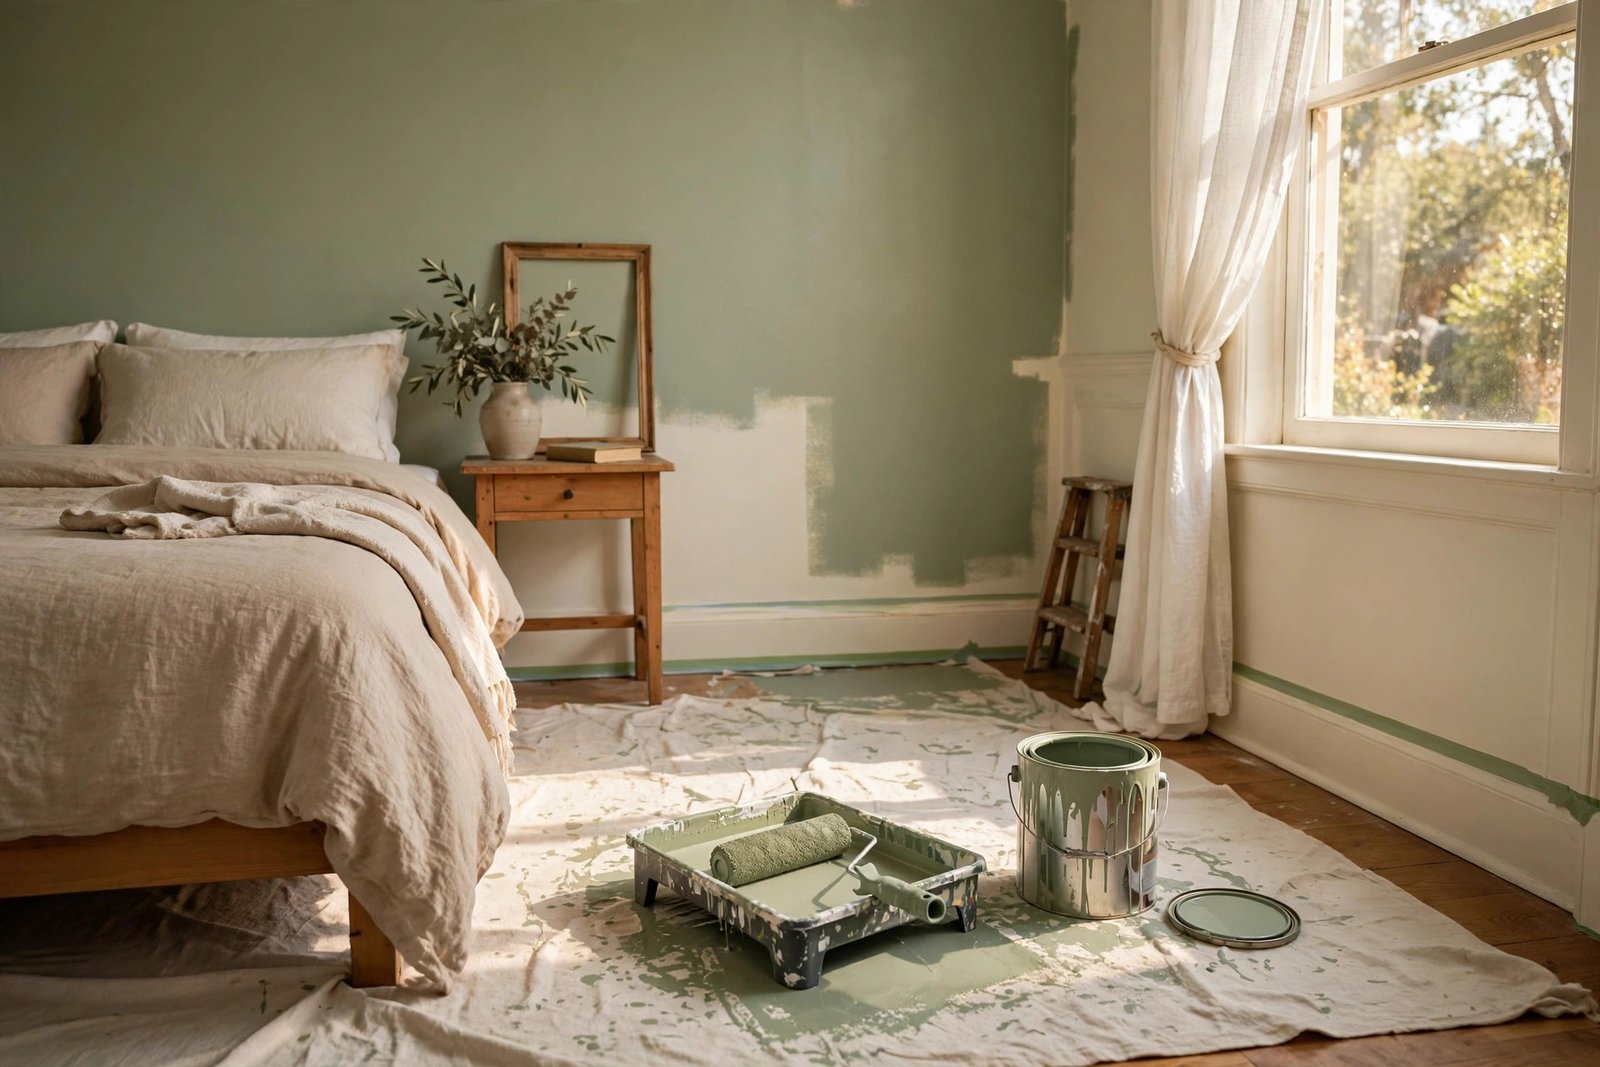
What You Need: The Paint-Room Supply List
Nothing stalls a painting weekend like a mid-project hardware store run. Gather everything before you open a single can:
- Paint: quality interior latex paint, one gallon per 350–400 square feet per coat. A 12-by-12 room with 8-foot ceilings needs about 2 gallons per coat.
- Primer: one gallon of stain-blocking primer for patched areas, color changes, or bare drywall.
- Roller frame, covers, and extension pole: 9-inch frame, 3/8-inch nap covers for smooth walls, 1/2-inch for light texture. The pole saves your back and speeds the work.
- Brushes: a 2–2.5-inch angled sash brush for cutting in around trim and corners.
- Painter’s tape, drop cloths, and a roller tray with liners for quick color changes.
- Patching kit: lightweight spackle, a putty knife, and 120-grit sandpaper for nail holes and dings.
- Cleaning supplies: a bucket, mild detergent, and a sponge to wash the walls before you start.
Step 1: Prep the Room (The Step Everyone Wants to Skip)
Professional painters spend up to 70% of a job on preparation, and it is the step that separates crisp, clean results from a mess. Move furniture to the center of the room and cover it with plastic or drop cloths. Lay canvas drop cloths — not plastic, which gets slippery and pools paint — over the entire floor. Remove outlet covers, switch plates, and curtain hardware; bag the screws and tape them inside each plate so nothing gets lost.
Then deal with the walls themselves. Wash them with a mild detergent solution to remove dust, grease, and fingerprints — paint will not stick properly to dirty surfaces. Fill every nail hole and crack with spackle, let it dry, and sand it flush with 120-grit sandpaper. Wipe everything down with a damp cloth to remove sanding dust, and let the walls dry completely.
Step 2: Choose and Test Your Paint
Color choice deserves its own step because it is where most regrets start. Never choose a wall color from a tiny chip under store fluorescents — buy sample pots of your top two or three contenders and paint 2-by-2-foot test swatches on different walls. Live with them for 24 hours, checking them in morning, midday, and evening light before you commit.
Pick your sheen as deliberately as your color. Flat or matte hides wall imperfections but is hard to clean — best for ceilings and low-traffic bedrooms. Eggshell and satin add a soft glow and wipe clean, making them the workhorses for living rooms and hallways. Semi-gloss stands up to moisture and scrubbing, which is why it belongs on trim, doors, bathrooms, and kitchens.
Step 3: Tape and Protect
Apply painter’s tape along trim, baseboards, window frames, and the ceiling line, pressing it down firmly — a putty knife run along the edge seals it so paint cannot bleed underneath. Many experienced painters skip tape and cut in freehand, but for your first few rooms, tape is cheap insurance for razor-sharp lines. Give taped edges one quick coat of the existing wall color (or primer) first: it seals the tape edge so your new color cannot seep under.
Step 4: Cut In the Edges
Cutting in means painting the edges and corners with a brush before you roll the big areas. Load your angled brush about a third of the way, tap off the excess — never wipe it on the can rim — and paint a 2–3-inch band along the ceiling line, corners, baseboards, and around windows and doors. Work in sections you can keep wet: cut in one wall, then roll it before moving on, so the brushed and rolled paint blend while both are still wet.
Step 5: Roll the Walls
Pour paint into the tray, load the roller evenly, and roll it on the tray’s ridges until the cover is saturated but not dripping. Use the classic W or M pattern: roll a 3-by-3-foot W, then fill it in with parallel strokes, always finishing with light vertical passes in one direction. This evens out the texture and keeps the sheen consistent across the wall.
Two rules make the difference here. First, maintain a wet edge: roll into the still-wet paint of the previous section so the two blend seamlessly — letting edges dry creates visible lap lines. Second, do not over-roll: once an area is covered, leave it alone. Going back over paint that is starting to set is the number-one cause of streaky, patchy walls.
Step 6: Paint the Ceiling and Trim
Always work top to bottom: ceiling first, then walls, then trim and doors last, so drips land on unfinished surfaces. Use flat ceiling paint and an extension pole, rolling in straight passes across the room’s width. For trim, semi-gloss with a quality angled brush gives the crisp contrast that makes walls look fresh. Pull painter’s tape off while the last coat is still slightly tacky, at a 45-degree angle for the cleanest line.
Step 7: Apply the Second Coat
Even with premium paint, two coats are non-negotiable — the first hides the old color, the second builds depth and durability. Wait the full recoat time on the can (usually 2–4 hours for latex), sand any drips between coats, and repeat the cut-in-then-roll sequence. Covering a dark color with a light one? A tinted primer can save you an entire third coat.
Step 8: Clean Up and Do the Walk-Through
Clean brushes and rollers with warm soapy water immediately — dried paint ruins tools. Fold drop cloths paint-side-in, reinstall covers and hardware, and move furniture back only after walls are fully cured (24–48 hours). Then do the final walk-through: inspect every wall in daylight, touch up thin spots with a small brush, and step back. That inspection pass is what turns a good paint job into a great one.
6 Pro Tips for a Flawless Finish
Premium paint covers in two coats what cheap paint needs three for — it is genuinely cheaper per finished wall.
Stir paint thoroughly and re-stir every 30 minutes. Pigment settles, and unstirred paint applies unevenly.
Between coats, wrap rollers and brushes tightly in plastic — they stay usable for days without washing.
Open windows and run a fan. Good airflow speeds drying and keeps fumes low, even with low-VOC paints.
Mix all gallons of the same color in one bucket first (“boxing”) so slight batch differences never show on the wall.
Write the room, color, and sheen on the can lid. Future touch-ups take minutes instead of a color-matching odyssey.
Mistakes Beginners Make (and How to Avoid Them)
Skipping the primer on patches. Spackled spots absorb paint differently and flash through as dull marks. Spot-prime every patch before top-coating.
Painting over dirty or glossy walls. Wash first, scuff glossy paint with sandpaper, and let everything dry. Adhesion problems always trace back to surface prep.
Letting the edge dry while rolling. Cut in only one wall at a time and roll it while the brushwork is wet. Wet edge is the whole game.
Frequently Asked Questions
How much paint do I need for one room?
One gallon covers 350–400 square feet per coat. A typical 12-by-12-foot room with 8-foot ceilings has about 400 square feet of wall space, so plan on 2 gallons per coat — 4 gallons total for two coats.
Do I really need primer?
Yes, when painting over patches, stains, dark colors, bare drywall, or glossy finishes. On clean, previously painted walls in a similar color, a quality paint-and-primer combo can skip the separate primer step.
Should I paint the ceiling or the walls first?
Ceiling first, then walls, then trim. Working top to bottom means every drip lands on a surface you have not finished yet.
How many coats of paint does a room need?
Two full coats for almost every situation. One coat rarely gives even coverage or full color depth, and three is only needed when hiding a drastic color change without primer.
How long does it take to paint a room?
A standard bedroom takes one experienced DIYer a full day: 2–3 hours of prep, 2–3 hours per coat including drying time between coats, and about an hour of cleanup. Budget a full weekend for your first room.
Your Freshly Painted Room Awaits
Painting a room is one of those rare projects where patience pays more than skill. Prep properly, keep a wet edge, give it two coats, and your walls will look like a professional did them — because you followed the professional’s process. Pick your color, clear a weekend, and get rolling.
Once the paint is dry, it is time to style the space. Get ideas from our home wall decor ideas for art and accents, see how fresh paint transforms seating areas with home decor ideas for the living room, or keep the whole palette serene with neutral home decor ideas that pair with any wall color.
2 thoughts on “How to Paint a Room: A Step-by-Step Guide”