
How to Install Laminate Flooring: A Step-by-Step DIY Guide
Learning how to install laminate flooring is one of the most rewarding DIY home improvement projects you can take on. With the right preparation, basic tools, and a free weekend, you can transform a worn-out room for a fraction of professional installation cost.
Key Takeaways
- Acclimate your laminate planks in the room for 48 hours before installation so they do not expand or buckle later.
- A flat, clean, dry subfloor is non-negotiable — most installation failures start with poor subfloor prep.
- Always leave a 1/4-inch expansion gap around walls, doorways, and fixed objects.
- Lay underlayment with taped seams, stagger plank joints by at least 12 inches, and work left to right with the tongue facing the wall.
- Buy 10 percent extra flooring to cover cuts, mistakes, and future repairs.
What You Need Before You Start
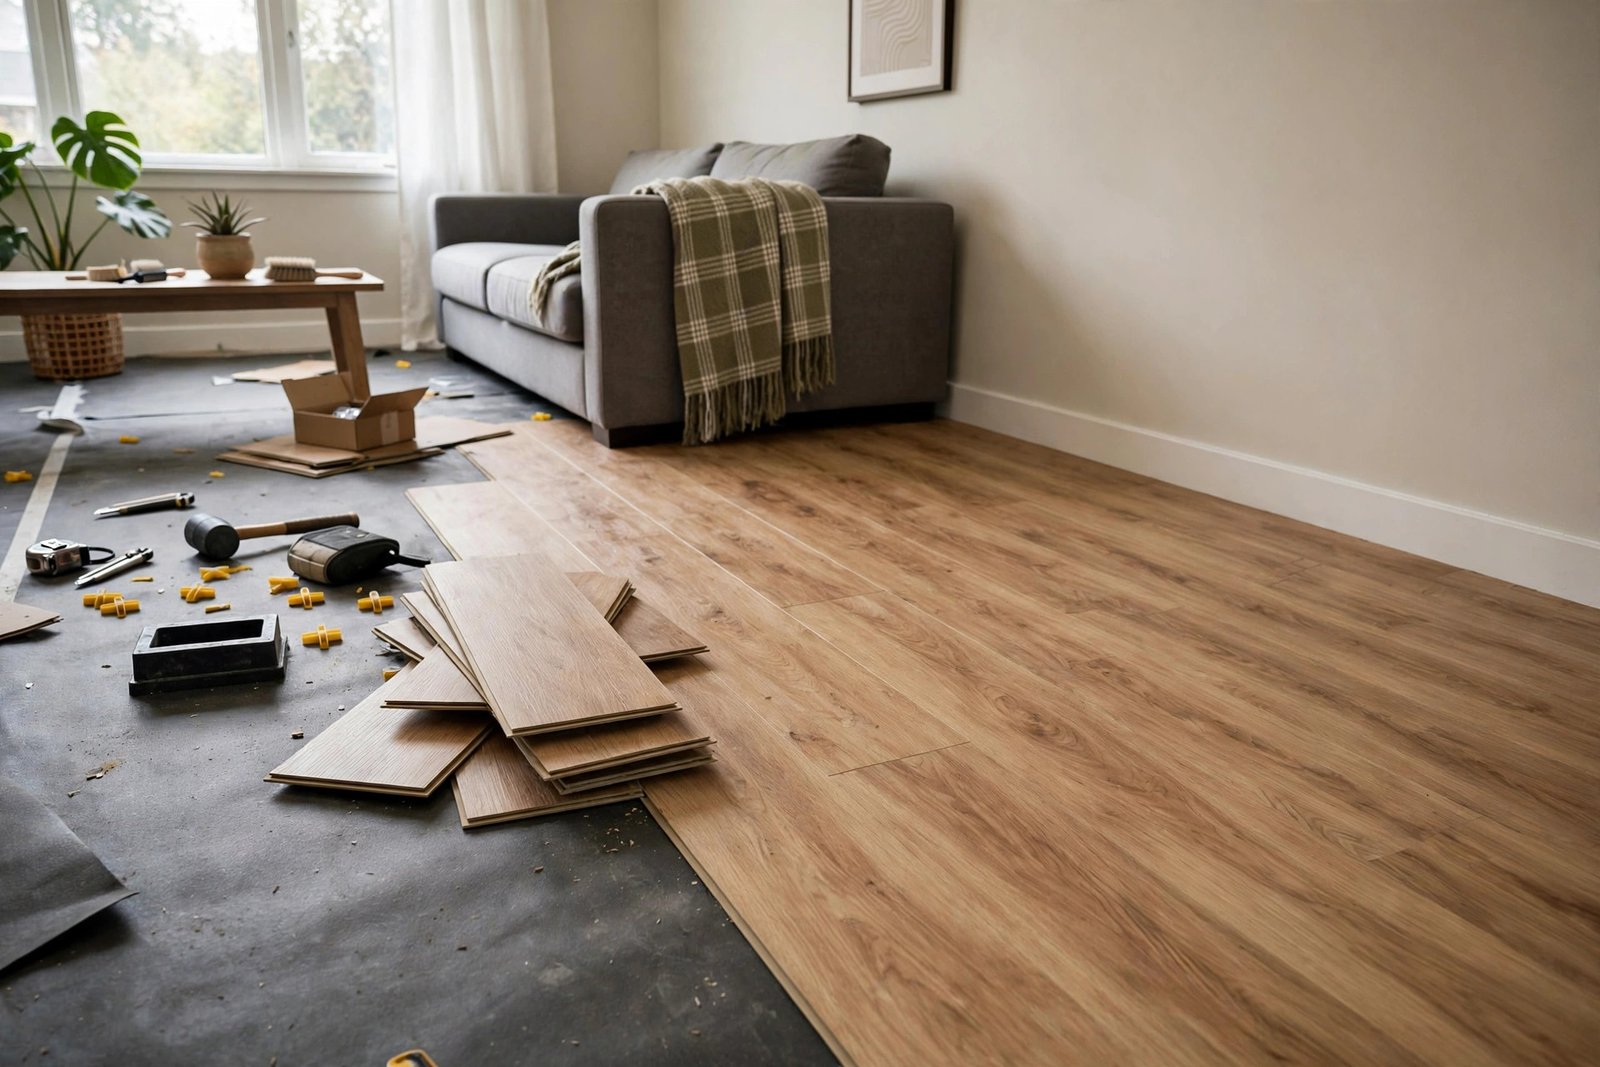
Most modern laminate floors use a click-lock system — no glue, no nails. Planks snap together in a floating installation, which is exactly what makes laminate such a popular DIY choice. Gather everything below before opening a single box so the work flows without hardware-store runs.
Tools and Materials Checklist
- Laminate flooring planks (room square footage plus 10 percent extra)
- Underlayment foam or felt, plus moisture barrier if installing over concrete
- Tape measure, pencil, and carpenter’s square
- Tapping block and pull bar (often sold as a laminate installation kit)
- Rubber mallet and 1/4-inch spacers
- Jigsaw or circular saw with a fine-tooth blade
- Utility knife, knee pads, safety glasses, and a dust mask
- Baseboards or quarter-round trim and a brad nailer
Choose the Right Laminate for Your Room
Laminate thickness runs 7 to 12 millimeters. Thicker planks feel more solid underfoot, click together more forgivingly, and hide minor subfloor imperfections — worth the small upcharge for main living spaces. Check the AC rating on the box: AC3 suits normal residential traffic, while AC4 or AC5 handles busy hallways, kids’ rooms, and large dogs.
For kitchens, laundry rooms, or entryways, choose water-resistant or waterproof laminate. Standard laminate and standing water are enemies; a waterproof core buys real peace of mind. Respect the 48-hour acclimation rule: stack the unopened boxes flat in the room, at normal living temperature, for two full days. Skipping this is a leading cause of buckling floors six months later.
Step 1: Prepare the Subfloor
This is the step DIYers rush most — and the one that matters most. Laminate follows whatever is underneath it, so a lumpy or damp subfloor telegraphs straight through your new floor. Remove the old flooring down to the subfloor, pull out staples and nails, and vacuum thoroughly.
Check flatness with a 6-foot level or long straightedge: the tolerance is 3/16 inch of variation over 10 feet. Sand down high spots in wood subfloors; fill low spots with leveling compound and let it cure. On concrete, fill hairline cracks, then run the plastic-sheet test — tape a 2-foot square of plastic to the slab for 24 hours, and if moisture collects underneath, lay a 6-mil poly moisture barrier first.
Remove baseboards carefully so you can reinstall them later. This is also a good moment to patch drywall dings behind the trim — wall repairs get messier once the floor is in. Plan plank direction too: along the longest wall or toward the main light source usually looks best.
Step 2: Lay the Underlayment
Underlayment is the thin foam or felt layer between the subfloor and the laminate. It cushions the floor, quiets footsteps, smooths tiny imperfections, and — with the right type — blocks moisture. Roll it out wall to wall, butting seams edge to edge without overlapping, and tape them.
If your laminate already has attached padding on each plank, do not add a second layer — doubling up creates too much give and can stress the click-lock joints until they fail. Over concrete, use an underlayment rated as a vapor barrier or lay poly sheeting beneath it.
Step 3: Install the First Row
The first row sets alignment for the entire floor, so take your time. Place 1/4-inch spacers along the starting wall, then lay the first plank in the corner with the tongue side facing the wall. Join at an angle: insert the tongue into the previous plank’s groove at 20 to 30 degrees, lower it flat until it clicks, then tap firmly with the tapping block and rubber mallet.
You will almost certainly cut the last plank in the row. Measure the gap, subtract the spacer allowance, mark face-up, and saw it. Save the offcut — if longer than 12 inches, it becomes the starter for the next row. Check the row runs straight before moving on: a crooked first row multiplies its error across the whole room.
Step 4: Work Row by Row Across the Room
Begin row two with the offcut (or a plank cut to a different length). Stagger end joints by at least 12 inches from the previous row — a random-looking pattern keeps the floor strong and avoids the amateur “H” look of aligned seams. Angle each plank into the long edge of the previous row, lower it, then click the short end into its neighbor.
Use the pull bar for the last plank in each row: hook it on the plank’s end, brace against the wall, and tap with the mallet to pull the joint tight. The final row is usually a rip cut along its length — measure wall to wall at several points, subtract the expansion gap, rip it, and slide it in with the pull bar.
Step 5: Cut Around Doorways, Vents, and Obstacles
Doorways are where DIY floors either look professional or give themselves away. The cleanest method is undercutting the casings: lay a scrap plank upside down next to the casing, rest your saw on it, and cut so the flooring slides underneath — the result looks seamless.
For floor vents and pipes, jigsaw or drill the plank to fit, keeping the 1/4-inch expansion gap around the obstacle. For radiator pipes, drill a hole slightly larger than the pipe, cut the plank from the hole to the nearest edge, fit the two pieces around the pipe, and glue the seam. At room-to-room doorways, install a T-molding transition strip — laminate needs a break every 30 to 40 feet of continuous run anyway.
Step 6: Add Trim and Finish the Edges
Pull up all the spacers and cover the expansion gap with trim. Reinstall saved baseboards with a brad nailer — nail into the wall studs, never into the floor itself, because the floating floor must stay free to move. Where baseboards are damaged, quarter-round or shoe molding is the classic alternative.
Install transition strips at doorways and where laminate meets another flooring type. Then walk the room checking every joint — a tapping block and mallet close small gaps, and a repair crayon hides tiny saw chips. Sweep and damp-mop to finish; the damp-mop technique in our guide to cleaning hardwood floors works just as well on laminate.
7 Common Mistakes to Avoid
Planks installed straight from a cold garage can expand enough to buckle. Give them 48 hours in the room.
Laminate moves with humidity. A missing 1/4-inch gap at walls and doorways is the top cause of peaked floors.
Every dip and hump telegraphs through. Level to 3/16 inch over 10 feet before a plank goes down.
Joints lined up in a grid look amateur and weaken the floor. Stagger every row at least 12 inches.
Whacking planks without a tapping block cracks the click-lock edges. Use the block and rubber mallet — tap, don’t smash.
Baseboards must anchor to the wall, never to the laminate. Pinning the floor stops it floating and invites buckling.
Short a box mid-project means a second dye lot that may not match. Buy 10 percent extra and keep a box.
What Does DIY Laminate Installation Cost?
For a typical 200-square-foot room, materials usually land between $400 and $900: laminate runs $1 to $3 per square foot, underlayment adds $0.25 to $0.50 per square foot, and trim, transitions, and an installation kit make up the rest. Professional installation typically adds $2 to $4 per square foot in labor, so DIY can easily halve the project cost.
Expect one full day for a bedroom including prep, or a weekend for an open living area with tricky cuts. It pairs well with a full refresh — many homeowners paint the room before the floor goes in, since cutting in walls is far easier without new flooring to protect.
Frequently Asked Questions
Can a beginner really install laminate flooring themselves?
Yes. Click-lock laminate is one of the most beginner-friendly flooring projects — no glue, no nails, no special trade skills. If you can measure, cut a straight line, and follow instructions patiently, you can lay a room over a weekend.
How long does it take to install laminate in one room?
A 12×12-foot bedroom typically takes one full day including subfloor prep. Larger open areas with many doorway cuts may take a weekend. The first few rows are slowest; speed picks up once the pattern is set.
Do I need underlayment if my laminate has attached padding?
No. If each plank has foam or cork backing, a second underlayment layer creates too much movement and can damage the click-lock joints. Over concrete, though, you still need a separate 6-mil poly moisture barrier.
Can laminate be installed over existing tile or vinyl?
Often yes, as long as the existing floor is firmly adhered, flat, clean, and dry. Loose tiles, deep grout lines, or cushioned vinyl must come up first. Confirm the manufacturer’s guidelines, since warranties can be voided over unapproved substrates.
Why is my laminate floor buckling or peaking?
Almost always one of three causes: no expansion gap around the perimeter, planks never acclimated, or moisture from below. Minor buckling near a wall can sometimes be fixed by widening the gap; widespread peaking usually means lifting and relaying.
Your Weekend Floor Makeover Starts Now
You now know how to install laminate flooring the right way — from subfloor prep and underlayment to cutting, clicking, and finishing trim. The secret is not fancy tools or experience; it is patience in the first two steps and consistency in every row after that.
Pick your room, measure twice, order that extra 10 percent, and let the planks acclimate while you gather your tools. By Sunday evening you will be standing on a floor you installed yourself — and no contractor receipt can match that feeling.
4 thoughts on “How to Install Laminate Flooring: Step-by-Step DIY Guide”