
How to Build a Pergola: A Step-by-Step Guide for a Stronger Outdoor Room
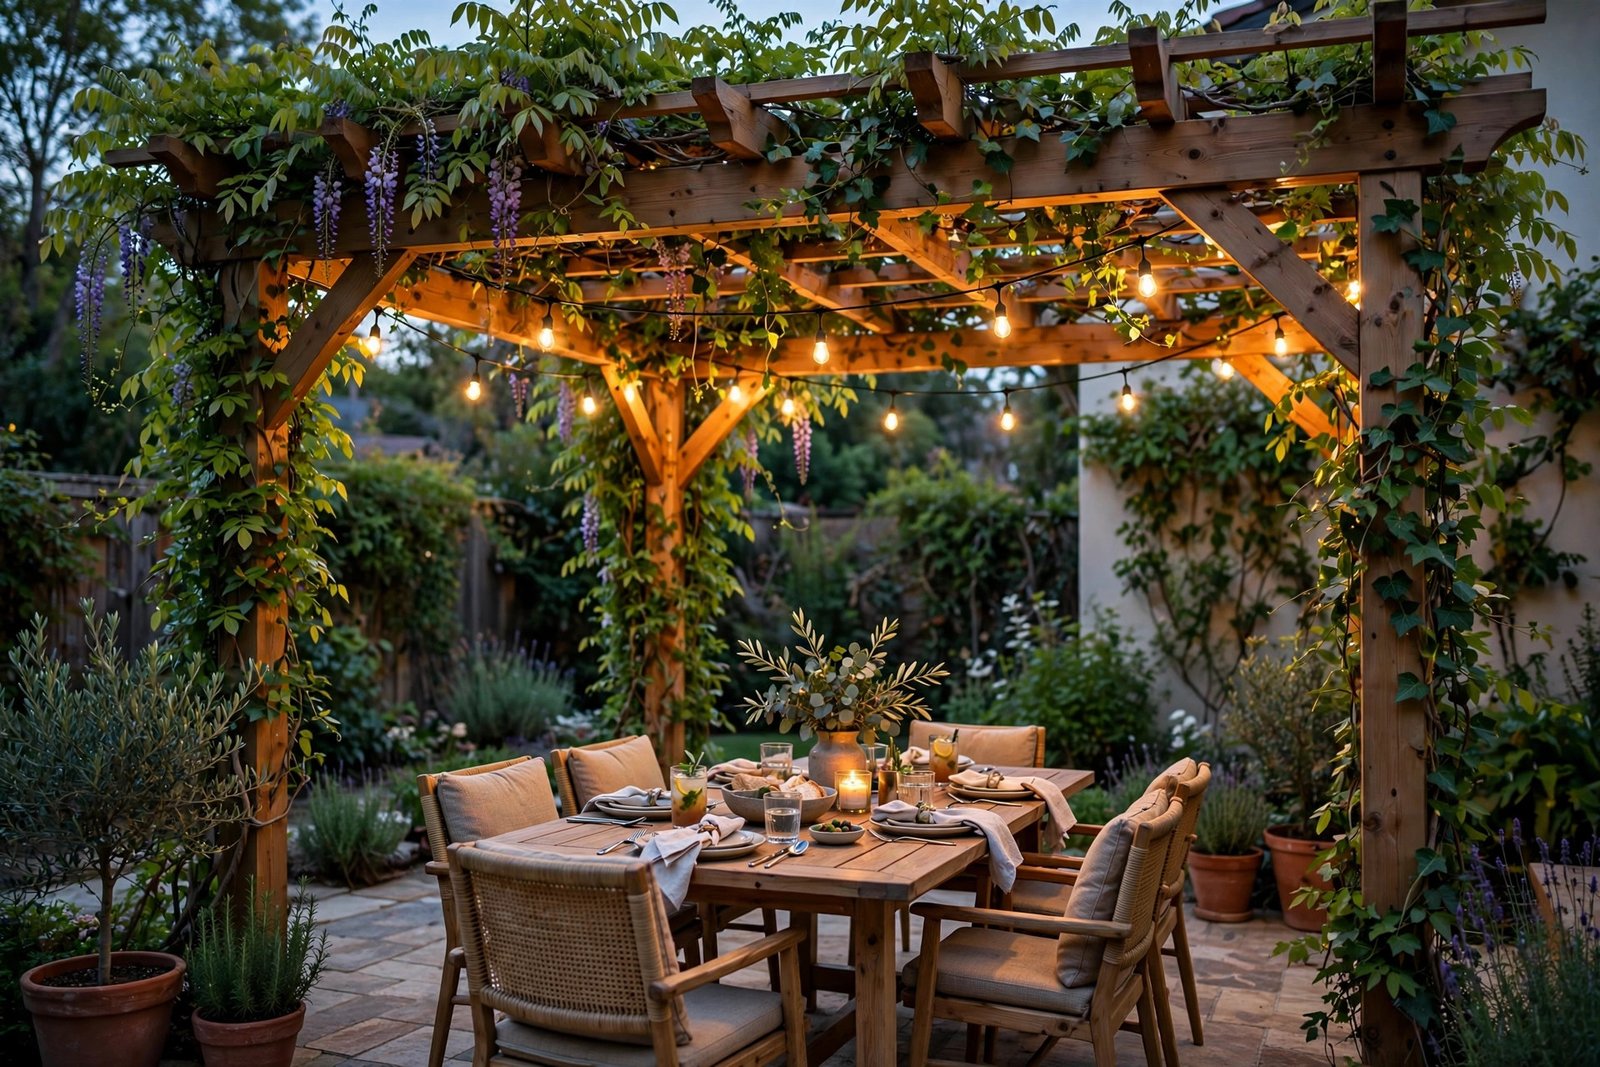
A pergola turns an open patio into a real outdoor room. It gives you dappled shade in summer, a frame for climbing plants and lights, and a structure that makes seating, dining, and evening gatherings feel intentional rather than improvised. It is also one of the most rewarding outdoor builds for a confident do-it-yourselfer: the design is simple, the materials are familiar, and the result is visible from every window in the house.
That simplicity can be misleading. A pergola that looks easy in a photograph still has to stand up to wind, carry its own weight plus any plants or shade fabric, and stay level and square for years. The difference between a pergola that lasts and one that leans, twists, or wobbles is almost never the timber. It is the planning, the footings, and the fixings. This guide walks through the whole build in order: planning and permits, choosing materials, setting solid footings, raising the frame, adding rafters and shade, and finishing the timber so it weathers gracefully.
Key Takeaways
- Check permits, setback rules, and underground services before you dig a single hole.
- Footings decide longevity: posts set in concrete below the frost line, or on proper post bases, outlast posts buried in soil.
- A freestanding pergola needs bracing; an attached pergola needs a ledger fixed safely into solid structure.
- Use structural screws and bolts, not just nails, at every load-bearing joint.
- Plan the size around your furniture and shade needs, not just the patio slab underneath.
- Seal or stain the timber before assembly where possible, and maintain the finish every few years.
Planning First: Size, Position, and Sun
Start with how you will actually use the space. A dining table for six needs a pergola at least 12 by 14 feet to leave room to pull chairs out and walk around. A lounge seating area needs similar space, while a narrow walkway pergola can be as small as 8 by 10 feet. Measure your furniture, add at least three feet of clearance on each side, and mark the footprint on the ground with string or spray paint. Live with the outline for a few days and walk through it at different times of day before you commit.
Sun direction matters as much as size. A pergola with rafters running north to south gives moving shade through the day, while east-to-west rafters can leave the seating in full sun at the hottest hour. Visit the spot in the morning, at midday, and in late afternoon, and note where the shade falls. If your main use is evening dining, prioritise late-afternoon shade. If it is a daytime reading spot, prioritise midday cover. You can also plan climbing plants or a shade sail for the side that catches the strongest sun, rather than trying to block sun from every direction with timber alone.
Permits, Rules, and Safety Checks
Rules vary widely, so check before you build rather than after. Many areas allow a small, open-roofed pergola without a permit, but size limits, height limits, setback distances from boundaries, and rules for structures attached to a house all differ by location. A pergola with a solid roof is often treated as a different structure entirely and may need approval, engineering, and a different footing design. Call your local planning office or check its website, and keep any written confirmation with your project notes.
Two safety checks are non-negotiable. First, call your local utility locating service before digging, so buried gas, water, electricity, and telecom lines are marked. Footing holes are deep enough to hit services, and striking one is dangerous and expensive. Second, if you plan to attach the pergola to your house, confirm what the wall is made of and what it can carry. A ledger board must be fixed into solid framing or masonry with proper bolts, never just into siding or render. If you are unsure about the wall structure, a freestanding pergola is the safer choice, and it avoids any risk of water getting trapped behind a ledger.
Choosing Materials
Fixings matter as much as timber. Use galvanised or stainless steel structural screws, carriage bolts, and post bases rated for outdoor use. Ordinary indoor screws rust, stain the timber, and lose strength. Post bases that hold the post above ground level, rather than burying the post end in concrete, keep the end grain dry and greatly extend post life. Budget for these properly: the fixings are a small share of the total cost but they carry the whole structure. If you are weighing timber choices against other home projects, our guide to types of plywood and their uses is a useful reminder of how different timber products behave outdoors versus indoors.
Tools You Will Need
You will need a tape measure, spirit level, string line, square, post-hole digger or auger, wheelbarrow, shovel, drill and driver, saw, ladder, and safety gear including eye protection and gloves. A second person is essential for raising posts and beams; do not attempt to lift a full beam assembly alone. A concrete mixer or a hired mixer saves effort if you are pouring several footings, and a laser level makes keeping post tops level far easier on uneven ground. Check that every tool is in good working order before the build day, because a blunt saw or a flat drill battery is what turns a weekend project into a two-weekend one.
Step-by-Step Build
Step 1: Mark Out and Dig the Footings
Mark the post positions with stakes and string, then check the layout three ways: measure each side, measure both diagonals (they must match for a true rectangle), and confirm the string lines are level. Dig each footing hole to at least 12 inches wide and deep enough to reach below the local frost line, or at least 24 to 36 inches in mild climates, with a wider base where soil is soft. Remove loose soil from the bottom, add a few inches of gravel for drainage, and set a cardboard tube form or a post base where your design requires it.
Step 2: Set the Posts
Pour concrete into each hole, set the post base or post into position, and brace the post plumb in both directions with temporary diagonal braces screwed to stakes in the ground. Check plumb with a level on two adjacent faces, and check that all post tops will finish at the same height by running a string line or laser across them. Posts are easier to trim to height after the concrete has set, so leave them long at this stage. Let the concrete cure for at least 24 to 48 hours before loading the posts, and longer in cold or wet weather.
Step 3: Fit the Beams
Once the posts are set and trimmed to a level height, fit the beams. For a doubled-beam design, clamp one beam board to the posts, drill through, and bolt it in place with carriage bolts, then repeat on the other side. Beams should overhang the end posts by 12 to 18 inches for a finished look, and any beam joint should fall over a post, never mid-span. Work with a helper, keep the ladder stable, and check level again after each beam is fitted. Small errors at this stage show in every rafter that follows, so correct them now.
Step 4: Add Rafters and Cross Pieces
Mark rafter positions evenly along the beams, then lift each rafter into place and fix it with structural screws or hurricane ties. Rafters usually overhang the beams by 12 to 18 inches at each end, and decorative end cuts, such as a simple angled or curved cut, give the pergola a crafted finish. If you want extra shade, add a second layer of smaller cross pieces, called purlins, running at right angles across the rafters. Keep spacing consistent by using a spacer block rather than measuring every gap, which keeps the roof pattern even and professional looking.
Step 5: Brace, Square, and Finish
Diagonal knee braces between posts and beams stop the pergola racking sideways in wind, and they are the most commonly skipped step in amateur builds. Fit at least one brace at each corner, fixed with bolts or structural screws, and check the whole frame for square and level one final time. Sand any rough edges, round over sharp corners, and apply your chosen finish. For comparable footing costs, see how much it costs to install a fence. For advice on keeping timber looking good long term, see our guide to how to refinish hardwood floors for the same principles of sanding, cleaning, and sealing that apply to outdoor timber too.
Finishing and Shade Options
Common Mistakes to Avoid
Posts in shallow holes heave, lean, and wobble. Dig below the frost line and use proper post bases.
Without knee braces, a pergola racks sideways in wind. Brace every corner before you call it done.
Buried end grain rots. Keep posts out of soil and water with bases and good drainage.
A joint between posts is a weak point. Every beam joint must sit over a post.
Unequal diagonals mean a skewed frame. Check diagonals before concrete, not after.
Plants, fabric, snow, and storms all add load. Size footings and fixings for the worst case, not the calm day.
Frequently Asked Questions
How to build a pergola for beginners?
Start with a simple freestanding design, check permits and underground services, mark a square layout, dig deep footings, set posts plumb in concrete, bolt on beams, add rafters, and brace every corner. Work with a helper, use structural fixings, and do not skip the footing and bracing steps.
Do I need a permit to build a pergola?
It depends on your location, size, height, and whether the pergola is attached or roofed. Many small open pergolas need no permit, but larger, taller, attached, or solid-roofed structures often do. Check with your local planning office before building and keep any confirmation in writing.
How deep should pergola footings be?
Footings should reach below the local frost line, or at least 24 to 36 inches deep in mild climates, with a diameter of at least 12 inches. Use concrete and post bases that keep timber out of soil, and make footings wider in soft or sandy ground.
What size posts should I use for a pergola?
6-by-6-inch posts are recommended for most pergolas, especially spans over 10 feet. They resist twisting and wind loads far better than 4-by-4 posts. Pair them with doubled 2-by-8 or 2-by-10 beams and 2-by-6 rafters for a strong, well-proportioned frame.
Does a pergola provide shade?
Yes, partial shade. Open rafters block roughly 30 to 50 percent of direct sun depending on spacing and direction. For deeper shade, add closer rafters, cross purlins, climbing plants, or a retractable shade fabric. A solid roof gives full shade but may need permits and stronger engineering.
How long does a wooden pergola last?
A well-built timber pergola lasts 15 to 25 years or more with proper footings, post bases, and regular finish maintenance. Cedar and hardwood last longest, while untreated softwood in ground contact may fail in under 10 years. Recoat the finish every two to four years and keep posts dry.
Build It Once, Build It Well
The most satisfying part of a pergola build is the moment the last rafter goes on and the space underneath suddenly feels like a room. That feeling lasts only if the structure underneath is sound. Take time over the layout, dig footings you will never have to think about again, bolt joints properly, and brace every corner. Those steps are not the photogenic part of the project, but they are the reason a pergola still stands straight after a decade of wind, rain, and climbing plants.
Start small if you are new to the work, build with a helper, and finish the timber before the weather gets to it. Then add shade, plants, and lights at your own pace. A pergola built this way rewards you every summer evening, and it becomes the part of the garden everyone gathers under, which is exactly what it was meant to be.