
How to Organize Kitchen Drawers: A Drawer-by-Drawer System That Actually Stays Tidy
Kitchen drawers are where good intentions go to disappear. You open the top drawer looking for a vegetable peeler and find three of them, a tangle of rubber bands, a lone chopstick, and a battery you are fairly sure is dead. The problem is rarely that you own too much. It is that every drawer is doing three jobs at once, with nothing to hold its contents in place. Learning how to organize kitchen drawers is less about buying pretty containers and more about giving each drawer one clear job, then fitting dividers to the things that actually live there.
This guide works drawer by drawer, not cabinet by cabinet. Cabinets hold pots, pans, and bulk supplies; drawers hold the small, daily tools that make cooking fast or frustrating. You will learn how to measure, empty, sort, and zone your drawers, what to put in each type of drawer, and the inexpensive inserts that make the biggest difference. Most kitchens can be transformed in a single afternoon, and the system below is designed to survive real life — rushed breakfasts, kids, guests, and the junk drawer that every home seems to need.
Key Takeaways
- Give every drawer exactly one job: utensils, cutlery, cooking tools, junk, or baking supplies — never a mix.
- Measure the inside of each drawer before buying any organizer; depth matters as much as width and length.
- Empty, sort, and discard first. Organizers only work once the drawer holds only what belongs there.
- Use adjustable dividers for long utensil drawers and small trays or cups for deep drawers.
- Keep daily tools within arm’s reach of the stove or prep area, and move rarely used gadgets elsewhere.
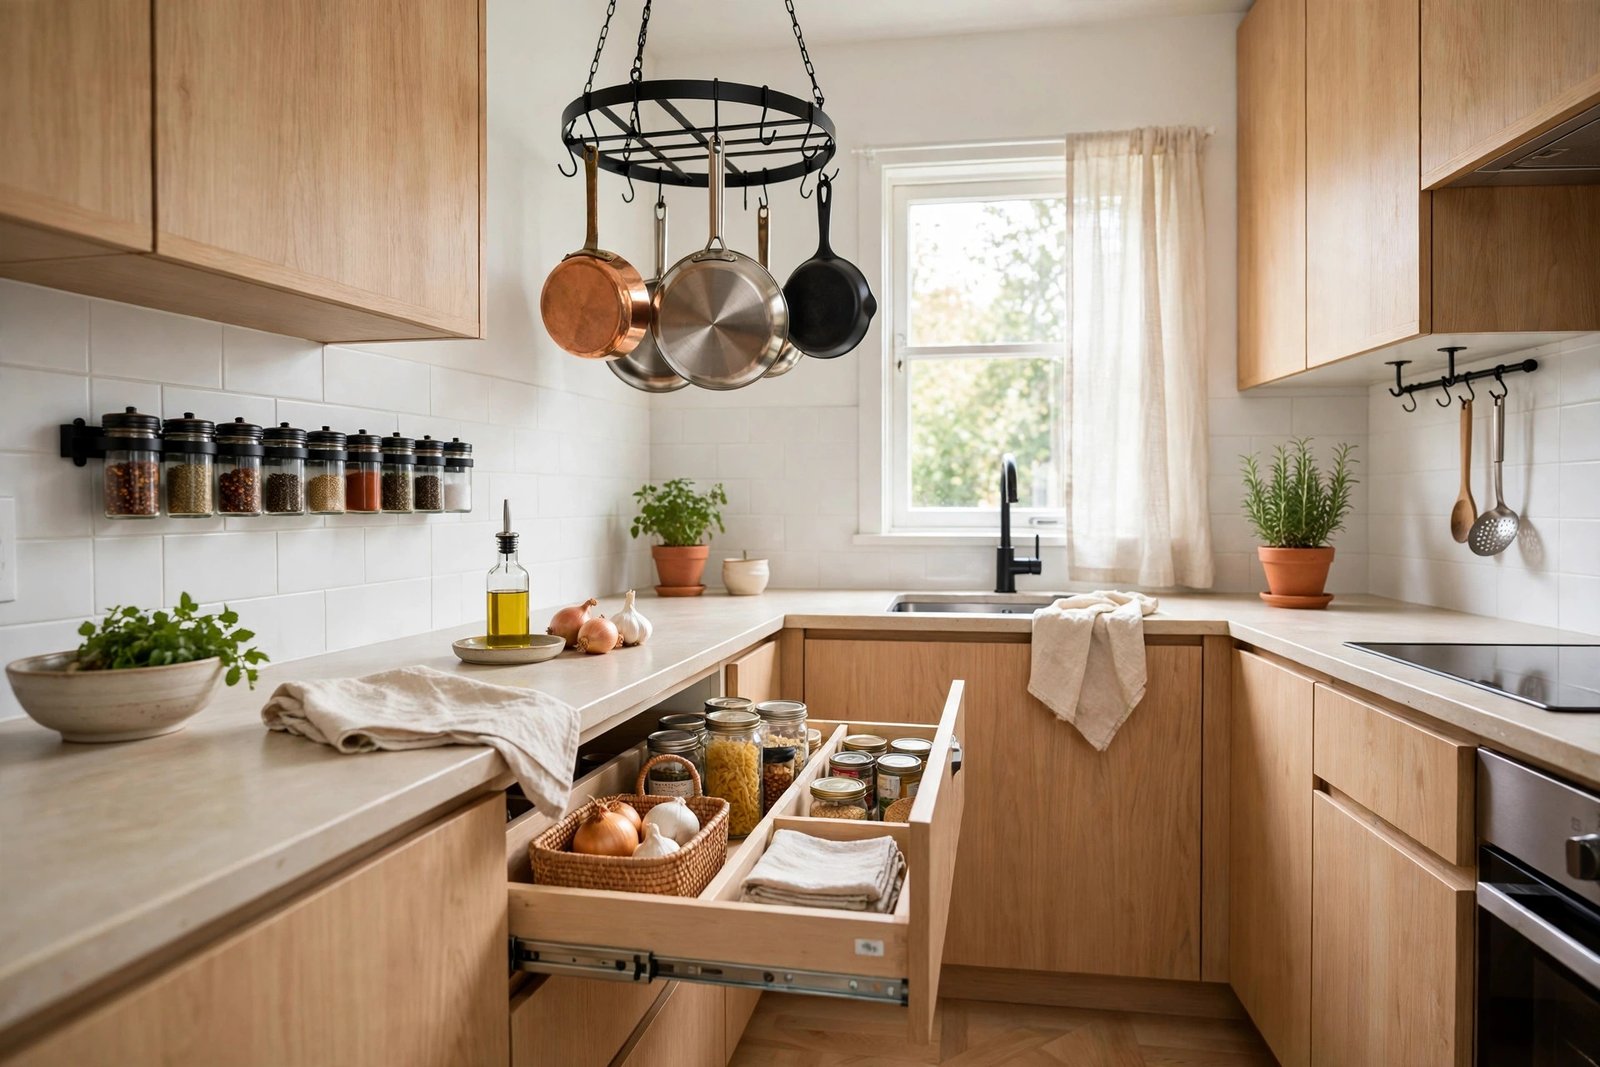
Start With a Drawer Audit, Not a Shopping Trip
It is tempting to order a full set of bamboo organizers before you start, but that is how drawers end up with dividers that do not fit and trays that slide around. Start by opening every drawer and writing down what is in it. You will almost certainly find duplicates — two garlic presses, four spatulas, a drawer full of takeaway chopsticks — and items that do not belong in the kitchen at all, like screwdrivers, old keys, and birthday candles from three years ago.
Pull everything out of one drawer at a time and sort it into four piles: keep in this drawer, move to a better drawer, relocate out of the kitchen, and discard or donate. Be honest about the discard pile. A melted spatula, a whisk missing wires, and a peeler that no longer peels are not backups; they are clutter that slows you down every time you open the drawer. Most households can remove 20 to 30 percent of drawer contents without missing anything, and that single step makes every organizer you add later work twice as well.
While each drawer is empty, wipe it out, check for crumbs and sticky spots, and note its exact internal measurements: length, width, and depth. Depth is the measurement people forget. A drawer that is only 7 centimeters deep cannot hold a tall spice jar standing up, but it can hold jars lying flat in a row. A deep drawer, 15 centimeters or more, needs stacked trays or small bins so small items do not sink to the bottom and vanish. Write the measurements on a sticky note inside each drawer until you have bought the inserts.
The Five Drawer Zones Every Kitchen Needs
Think of your drawers as zones arranged around how you cook, not around where there happens to be space. The best layout puts the things you reach for most often closest to where you use them, and pushes rarely used items to the least convenient drawers.
Zone 1: The Everyday Cutlery Drawer
This drawer usually sits beside the dishwasher or near the dining area, and it should hold only cutlery: forks, knives, spoons, and chopsticks. A standard cutlery tray with five or six compartments works for most families, but if your drawer is wider than 45 centimeters, add a second small tray for steak knives or serving pieces. Keep butter knives and teaspoons at the front where hands land first, and put sharp steak knives in a covered slot so fingers never brush a blade while reaching past.
Zone 2: The Cooking Utensil Drawer
This is the workhorse drawer, ideally within one step of the stove. It holds spatulas, wooden spoons, tongs, ladles, whisks, and peelers. Because these tools are long, this drawer needs adjustable dividers that run lengthwise rather than a fixed cutlery tray. Lay the longest tool — usually tongs at about 30 centimeters — diagonally if needed, and group by task: stirring tools together, flipping tools together, and measuring tools together. If your utensil drawer is shallow, a diagonal divider instantly creates longer slots without any carpentry.
Zone 3: The Prep and Gadget Drawer
Measuring cups, measuring spoons, graters, can openers, thermometers, and small gadgets belong here, near your main prep counter. Use small cups, ramekins, or a narrow tray to corral measuring spoons so they do not scatter. Nest measuring cups together and clip measuring spoons onto a single ring. This is also the right home for items like kitchen shears and a vegetable peeler — tools you use several times a week but not every single meal.
Zone 4: The Junk Drawer — Yes, On Purpose
Every kitchen needs one junk drawer, and pretending otherwise just spreads junk into every other drawer. The trick is to contain it: one drawer, one small tray with compartments for batteries, tape, pens, twist ties, and scissors, and a strict rule that nothing else enters. When the junk drawer fills up, it gets emptied and re-sorted rather than overflowing into the utensil drawer. If you have already organized your kitchen cabinets, the junk drawer is the natural partner — cabinets hold the big supplies, this drawer holds the small everyday bits.
Zone 5: Baking, Wraps, and Specialty Drawers
If you have spare drawers, dedicate one to baking tools — rolling pins, cookie cutters, piping tips, and cupcake liners — and another to wraps and bags: cling film, foil, parchment, and zip bags. A tension rod or a tall, narrow bin keeps wrap boxes upright and stops them unraveling. Baking drawers work best when cookie cutters live in one small tin and piping tips in another, because loose cutters are the fastest way to turn a tidy drawer into a jumble again.
Choosing Organizers That Fit Your Drawers
Organizers fail for two reasons: wrong size and wrong material for the job. Bamboo and wood trays look beautiful and suit cutlery drawers, but they can warp if they get wet, so keep them away from damp utensils. Plastic trays are easy to wipe clean and work well for gadget drawers. Metal dividers with a spring mechanism expand to fit almost any drawer width and are ideal for utensil drawers because you can reconfigure them when your tool collection changes.
For deep drawers, think in layers. A shallow tray on top can hold measuring spoons while larger items sit below, or small lidded bins can divide a deep drawer into zones. Avoid stacking loose items directly on top of each other — the top layer always slides, and the bottom layer becomes invisible. If a drawer is deeper than 15 centimeters, consider a two-tier insert or simply move tall items out and reserve the drawer for flat tools like baking sheets, cutting boards, or trays.
Budget realistically. A full kitchen can be organized for the price of a few takeaway meals with adjustable dividers, one good cutlery tray, and small cups you already own. Add non-slip shelf liner under trays that slide — it costs almost nothing and solves the most common organizer complaint.
How to Organize Kitchen Drawers Step by Step
Here is the process in order, drawer by drawer. Doing one drawer completely before starting the next keeps the kitchen usable and gives you a quick win that motivates the rest.
- Step 1 — Empty it fully. Take everything out, wipe the drawer, and measure the interior.
- Step 2 — Sort ruthlessly. Keep, move, relocate, or discard. Put duplicates and broken tools straight in the discard pile.
- Step 3 — Assign the zone. Decide this drawer’s one job based on its location: near the stove, near the prep counter, or near the dishwasher.
- Step 4 — Place dividers first, tools second. Fit the empty organizers, then place the longest items first and build around them.
- Step 5 — Test it for a week. Use the drawer normally, then adjust: move anything you keep reaching past, and shrink any compartment that stays empty.
That one-week test is the secret most guides skip. A drawer that looks perfect on organizing day but forces you to dig for the spatula every morning is not organized — it is staged. Move the spatula to the front slot, move the rarely used melon baller to the back, and let actual use, not appearance, decide the final layout.
Small Kitchens and Awkward Drawers
Small kitchens need stricter rules, not more organizers. If you have only three or four drawers, combine zones sensibly: cutlery and small gadgets can share a drawer if a tray separates them, but cooking utensils should still get their own space because they are long and awkward. Move rarely used gadgets — the spiralizer, the egg separator, the fondue forks — into a box on top of the cabinets or into a pantry bin, and rotate them in only when you need them. For more ideas on making a compact kitchen work harder, see these kitchen storage ideas for small kitchens and our broader storage ideas for small spaces, which cover the cabinet and counter side of the same problem.
Narrow drawers, often only 15 to 20 centimeters wide, suit a slim in-drawer knife block or spices lying flat in rows. Wide drawers over 60 centimeters need a divider down the middle, or everything migrates to one side.
7 Drawer Organization Tips That Keep It Tidy
When a new gadget arrives, an old one leaves. This single rule prevents drawer creep better than any organizer.
A cheap liner stops trays sliding and protects drawer bases from knife scratches and moisture.
Small labels inside the drawer front help family members put things back in the right place.
Use a knife tray or blade guards. Loose knives damage other tools and are a safety risk.
Measuring spoons, clips, and twist ties belong in cups or small trays, never loose in a big compartment.
Spend two minutes on Sunday putting stray items back. A weekly reset beats a yearly overhaul.
Daily tools at the front, weekly tools in the middle, and yearly tools at the back or out of the kitchen.
Frequently Asked Questions
What is the best way to organize kitchen drawers without buying anything?
Empty each drawer, discard duplicates and broken tools, assign one job per drawer, and reuse small boxes, ramekins, and cups you already own as dividers. The sorting step alone usually makes drawers far more usable, even before any new organizer arrives.
How do I organize deep kitchen drawers?
Use stacked trays or small lidded bins so items sit in layers rather than piling up. Keep flat items like baking trays at the bottom and small tools in a top tray, and avoid storing loose small items directly in a deep drawer where they sink and disappear.
Should knives go in a drawer or on a magnetic strip?
Both work if done safely. An in-drawer knife block is best for families with children or limited wall space, while a magnetic strip frees drawer space in small kitchens. Never store loose knives mixed with other utensils.
How often should I reorganize kitchen drawers?
Do a two-minute reset weekly and a full empty-and-sort every six months. Kitchens change with the seasons — baking tools in winter, grilling tools in summer — so a twice-yearly review keeps zones matched to how you actually cook.
What belongs in a kitchen junk drawer?
Only small everyday items: batteries, tape, pens, scissors, twist ties, and a phone charger. If the drawer also holds tools, keys, or paperwork, those items need their own home elsewhere, or the junk drawer will overflow within weeks.
Start With One Drawer Today
You do not need to organize the whole kitchen to feel the difference. Pick the drawer you open most — usually the utensil drawer by the stove — empty it, discard the duplicates, and give everything left a defined slot. Tomorrow morning, cooking will feel calmer, faster, and noticeably less chaotic. Then repeat the process, one drawer at a time, until every drawer has one job and nothing in it is a mystery.