
Herbal Apothecary Kitchen Ideas: How to Create a Cosy Herbal Pantry at Home
Rows of amber jars, bundles of dried herbs hanging from a rail, labels written by hand — the herbal apothecary kitchen is part pantry, part ritual, and it is having a serious moment. Pinterest’s 2026 Hobbies Trend Report, in its “Kitchen Witch” cluster, recorded searches for “herbal apothecary” up 595 percent and “homemade spice blends” up 209 percent, as home cooks trade plastic spice tubs for glass, cork, and a slower way of stocking a kitchen.
The good news: this is one of the cheapest kitchen transformations there is. With a dozen jars, one shelf or rail, and a sensible starter collection of herbs and spices, you can build a working herbal pantry in a single weekend for $40–80. Here is exactly how — including the drying, blending, and safety rules that keep it practical, not just pretty.
Key Takeaways
- An apothecary kitchen stores whole herbs and spices in labelled glass jars, displayed on shelves or rails.
- Amber glass is best for open shelves; clear glass is fine inside a dark cupboard.
- Moisture is the enemy: herbs must be completely dry before jarring, or they will mold.
- Every jar gets a label with the herb’s name and the date it was stored — no exceptions.
- Start with 12 culinary staples and 6–8 tea herbs; blends take ten minutes to make.
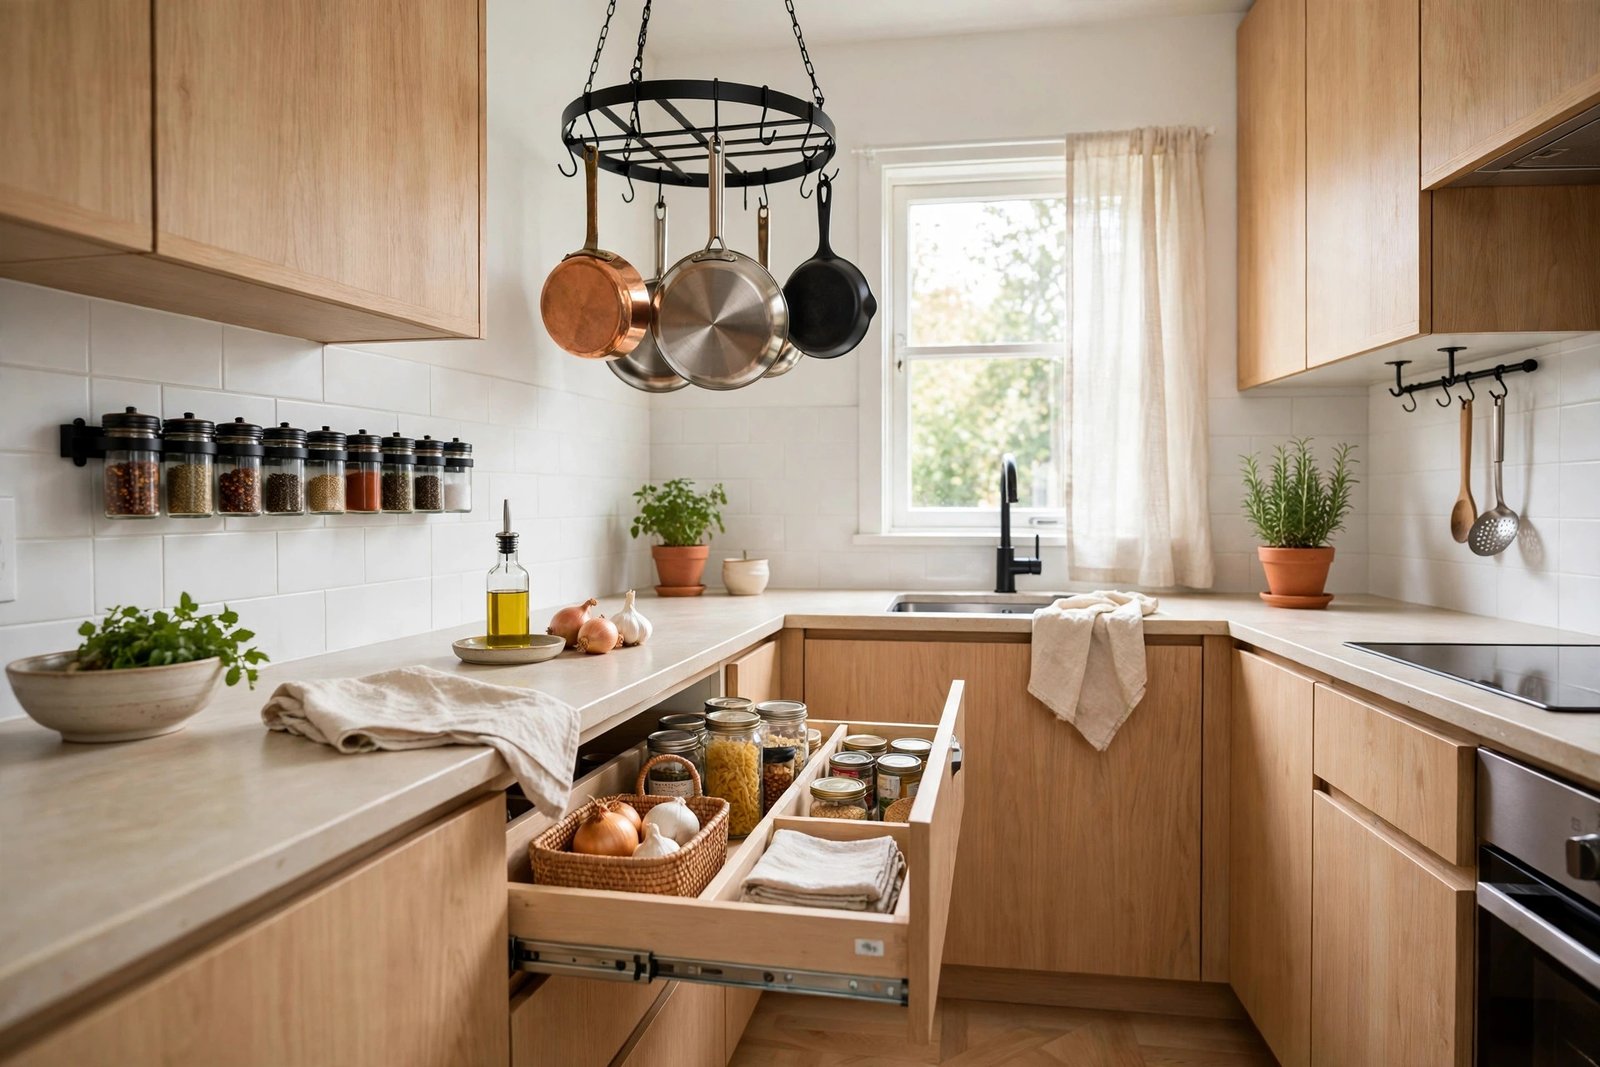
What Exactly Is an Apothecary Kitchen?
The idea borrows from the old apothecary shops and farmhouse stillrooms where herbs, spices, teas, and remedies were stored in glass jars along open shelves — everything visible, everything labelled, nothing hidden in a dark cupboard. In a modern home it is simply a dedicated corner of your kitchen where cooking herbs, spice blends, teas, and dried ingredients live in uniform glass jars, supported by a rail for hanging bundles and a small workspace for blending.
It sits happily alongside the slow, sensory end of home decor — the same impulse behind witchy home decor ideas — but it is not a costume. Done well, an apothecary pantry is genuinely the most functional way to store herbs: you can see quantities at a glance, whole leaves and seeds keep their flavor longer than pre-ground powders, and blending your own mixes takes minutes once the jars are in place.
The Core Setup: Jars, Glass, and Labels
Amber vs. Clear Glass
Light degrades dried herbs, which is why apothecaries used amber and green glass. If your jars will live on open shelves in daylight, choose amber glass — it filters UV and keeps colors and oils intact. Clear glass is perfectly fine inside a closed cupboard, and it shows off colorful contents (rose petals, chili flakes, turmeric) beautifully. Avoid plastic for long storage: it absorbs odors and lets in more air over time.
Sizes and Lids
Buy jars in three sizes and stick to them: 4 oz for ground spices and blends, 8–16 oz for leafy herbs (they are bulky and light), and 32 oz for teas and dried flowers. Clamp-lid jars with rubber seals are the most airtight and the most apothecary-looking; cork stoppers look wonderful but breathe slightly, so use them for things you get through quickly, like bay leaves or bath herbs. New amber jar sets of 12 run about $18–25; thrifted jars cost $0.50–2 each.
A Label System You Will Actually Keep
Every jar gets three things on its label: the name, the date stored, and ideally the source (garden, market, shop). Kraft paper labels with a fine marker cost about $6 for a roll and suit the look; masking tape and a pen cost almost nothing and work just as well. The date matters more than the handwriting — it is how you know what to use first and what to compost after a year.
Shelves, Rails, and Storage Systems
You do not need a whole wall. A single 24–36 inch floating shelf above your prep area holds 10–14 jars; two shelves hold a full pantry. Add a wall rail with S-hooks ($10–20) beneath or beside it for hanging herb bundles, a small basket, scissors, and a string of dried chilies or garlic — the rail is what makes the corner read as a working apothecary rather than a display.
Inside cupboards and drawers, the same logic from any good pantry organization ideas applies: a tiered riser ($10–15) so back rows are visible, shallow baskets to group blends and teas, and jars arranged by frequency — daily herbs at the front, occasional ones up high. Keep the whole system within arm’s reach of where you chop and cook; an apothecary shelf across the room from the stove is just decor.
One placement rule is non-negotiable: not above the stove. Steam and heat rise straight into lids and labels and will stale a jar of herbs in weeks. A nearby wall, the side of a tall cupboard, or the back of a pantry door are all better homes.
Your Starter Herb and Spice List
Resist buying forty jars on day one. Start with the twelve culinary herbs and spices most home cooks actually finish:
- Leafy and green: oregano, thyme, rosemary, sage, bay leaves, basil, parsley, dill.
- Seeds and warmth: coriander seed, cumin, smoked paprika, chili flakes.
Then add a small tea and wellness shelf of six to eight: chamomile flowers, peppermint or lemon balm, dried ginger, cinnamon sticks, fennel seed, rose petals, culinary lavender buds, and turmeric. Buy in small quantities — 1–2 oz of each is plenty — from a spice shop or market stall where turnover is fast, and note the purchase date on every label. Whole spices keep about a year; you will taste the difference over supermarket jars that have sat for three.
Drying and Storing Herbs the Right Way
Drying your own herbs is where the apothecary kitchen earns its keep, especially at the end of the garden season. Three reliable methods:
- Air-drying: tie stems in small bundles (thick bundles mold in the middle) and hang them upside down in a dark, airy spot for 1–2 weeks.
- Dehydrator: 95–115°F (35–46°C) until leaves crumble between your fingers — usually 2–4 hours.
- Oven: lowest setting with the door cracked open, checking every 20 minutes; best for sturdy herbs like rosemary.
The readiness test is simple: leaves must crumble cleanly and stems must snap, not bend. Any remaining moisture sealed into a jar means mold within weeks, so if in doubt, dry another day. Store herbs whole and crush or grind only what you need — whole leaves keep their flavor close to a year, while ground spices fade in about six months. A food-safe silica packet in each large jar is cheap insurance in humid climates.
Three Simple Blends to Make First
Everyday Herb Seasoning (Herbes de Provence Style)
Combine 2 tablespoons each dried thyme and oregano, 1 tablespoon crumbled rosemary, 1 tablespoon rubbed sage, and 1 teaspoon culinary lavender buds. Rub between your palms before using on roast chicken, potatoes, or grilled vegetables.
Warming Spice Blend (for Oats, Baking, and Chai-Style Tea)
Mix 2 tablespoons ground cinnamon, 1 tablespoon ground ginger, 1 teaspoon ground cardamom, 1 teaspoon nutmeg, and ½ teaspoon ground clove. A teaspoon stirred into porridge or hot milk tastes like winter in a cup.
Evening Herbal Tea Blend
Blend 3 tablespoons chamomile flowers, 2 tablespoons lemon balm or peppermint, 1 tablespoon rose petals, and 1 teaspoon fennel seed. Steep 1 tablespoon per cup in just-boiled water for 5–7 minutes, covered, so the aromatic oils stay in the cup.
Store blends in the 4 oz jars, label with the blend name, the date, and the recipe ratios on the back of the label — future you will be grateful. More small-kitchen systems worth borrowing live in these kitchen storage ideas for small kitchens.
Safety Notes: The Rules That Matter
- Label everything, always. Dried herbs look remarkably alike. An unlabelled jar is a jar you should throw away — this is the apothecary’s first rule and it exists for a reason.
- Keep culinary and non-culinary apart. Herbs for baths, potpourri, or crafts live on a separate shelf or in a different-colored label, never mixed in with cooking jars.
- Treat the shelf like a medicine shelf for children and pets. Store jars high or behind a closed door where small children cannot reach, and remember that concentrated items — essential oils, strong chilis, and certain herbs in quantity — should be kept away from pets. Whole culinary herbs in normal cooking amounts are a different matter from concentrated extracts; when in doubt, check before using something new around animals.
- Buy identified herbs from reputable sellers. Never swap in foraged or gifted plants unless an expert has identified them — several common garden and wild plants have toxic look-alikes.
- Watch for moisture and pests. Inspect jars monthly; any sign of mold, webbing, or a musty smell means the whole jar goes. Dry means safe.
Small Habits That Keep the Pantry Working
New jars go behind old ones, and dates on labels tell you what to finish first. Nothing quietly reaches year three.
Whole leaves hold their oils until the moment you crumble them between your palms over the pot.
One small wooden spoon and a funnel living at the shelf means refills take two minutes, not a drawer hunt.
A monthly spice-shop trip with a list beats random supermarket jars — fresher stock, less waste.
Fresh herbs drying on the rail double as the prettiest decor in the kitchen — and a reminder to use them.
Styling the Old-World Look on a Budget
The apothecary look is collected, not bought, which makes it wonderfully cheap. Budget roughly: $15–25 for jars (less if thrifted), $10–20 for a rail and hooks, $5–8 for labels and a basket or two — a $40–80 total for the full corner. Thrift stores and market stalls are the best suppliers: mismatched amber bottles, small wooden crates, linen offcuts for shelf liners, and brass scoops all read as authentic because they are.
For the atmosphere, layer three things: warm light (a battery puck light under the shelf above, or a small lamp nearby — herbs photograph and glow best at dusk), natural texture (wood, cork, linen, woven baskets against the glass), and one living plant on the shelf, such as a small pot of rosemary you actually snip from. Keep colors in the amber, cream, sage, and wood family and the corner will look like it has been there for a hundred years.
Frequently Asked Questions
What is the difference between an apothecary kitchen and normal spice storage?
Visibility and form. An apothecary setup stores mostly whole herbs and spices in uniform, labelled glass jars on shelves or rails, with a small blending area — so you see stock levels, blend your own mixes, and use things before they go stale.
Should I choose amber or clear jars?
Amber for open shelves in daylight, because it blocks the UV that fades herbs. Clear jars are fine inside a dark cupboard and show off colorful contents like rose petals and chili flakes. Either way, choose airtight lids and consistent sizes.
How long do dried herbs and spices keep?
Stored whole, cool, dark, and dry, leafy herbs keep good flavor for about a year and whole seeds even longer. Ground spices fade in roughly six months. The date on your label tells you when to compost and replace.
Is it safe to dry my own herbs at home?
Yes, with three rules: dry them completely (leaves should crumble, stems snap), label every jar with the name and date, and only dry herbs you can identify with certainty from your garden or a reputable seller. Any jar showing mold should be discarded whole.
How much does it cost to start an apothecary kitchen?
About $40–80 for jars, a rail with hooks, labels, and a starter set of herbs bought in small quantities. Thrifting the jars and bottles can cut the jar cost to a few dollars, and the herb collection grows one market trip at a time.
Start With Twelve Jars and One Shelf
You do not need a farmhouse kitchen or a gardener’s harvest to begin. Buy twelve jars, label them honestly, fill them with the herbs you already cook with, and hang one bundle to dry. Within a month you will be blending your own seasoning, brewing evening tea from your own shelf, and wondering why spices ever lived in a jumble of plastic tubs. The apothecary kitchen is not a trend purchase — it is a slower, better-organized way to cook.