
How to Organize a Pantry: Zones, Containers, and a System That Stays Tidy
Every pantry starts with good intentions and ends the same way: a jumble of half-empty boxes, three open bags of rice, and a tin of something you cannot identify at the back of the shelf. The problem is rarely a lack of space. It is a lack of a system — a reason for every item to live in one specific spot, and a routine that puts it back there. Without that, even a large pantry collapses into chaos within a month.
Organizing a pantry properly takes one focused afternoon, not a renovation. You empty it completely, sort ruthlessly, group what remains into zones that match how you actually cook, and choose containers that fit your shelves rather than the other way around. This guide walks you through each step, including the small habits — a weekly reset, a shopping list tied to the shelves — that keep the system working long after the initial enthusiasm fades.
Key Takeaways
- Empty the pantry completely first; you cannot organize around items you have not seen.
- Group food into zones by how you use it: breakfast, baking, weeknight cooking, snacks, and backstock.
- Decant only the staples you use constantly — flour, rice, pasta, oats — and label everything.
- Put daily items at eye level, heavy items low, and rarely used items high.
- Use clear bins and turntables so nothing hides at the back of a deep shelf.
- A five-minute weekly reset is what separates a tidy pantry from a one-week wonder.
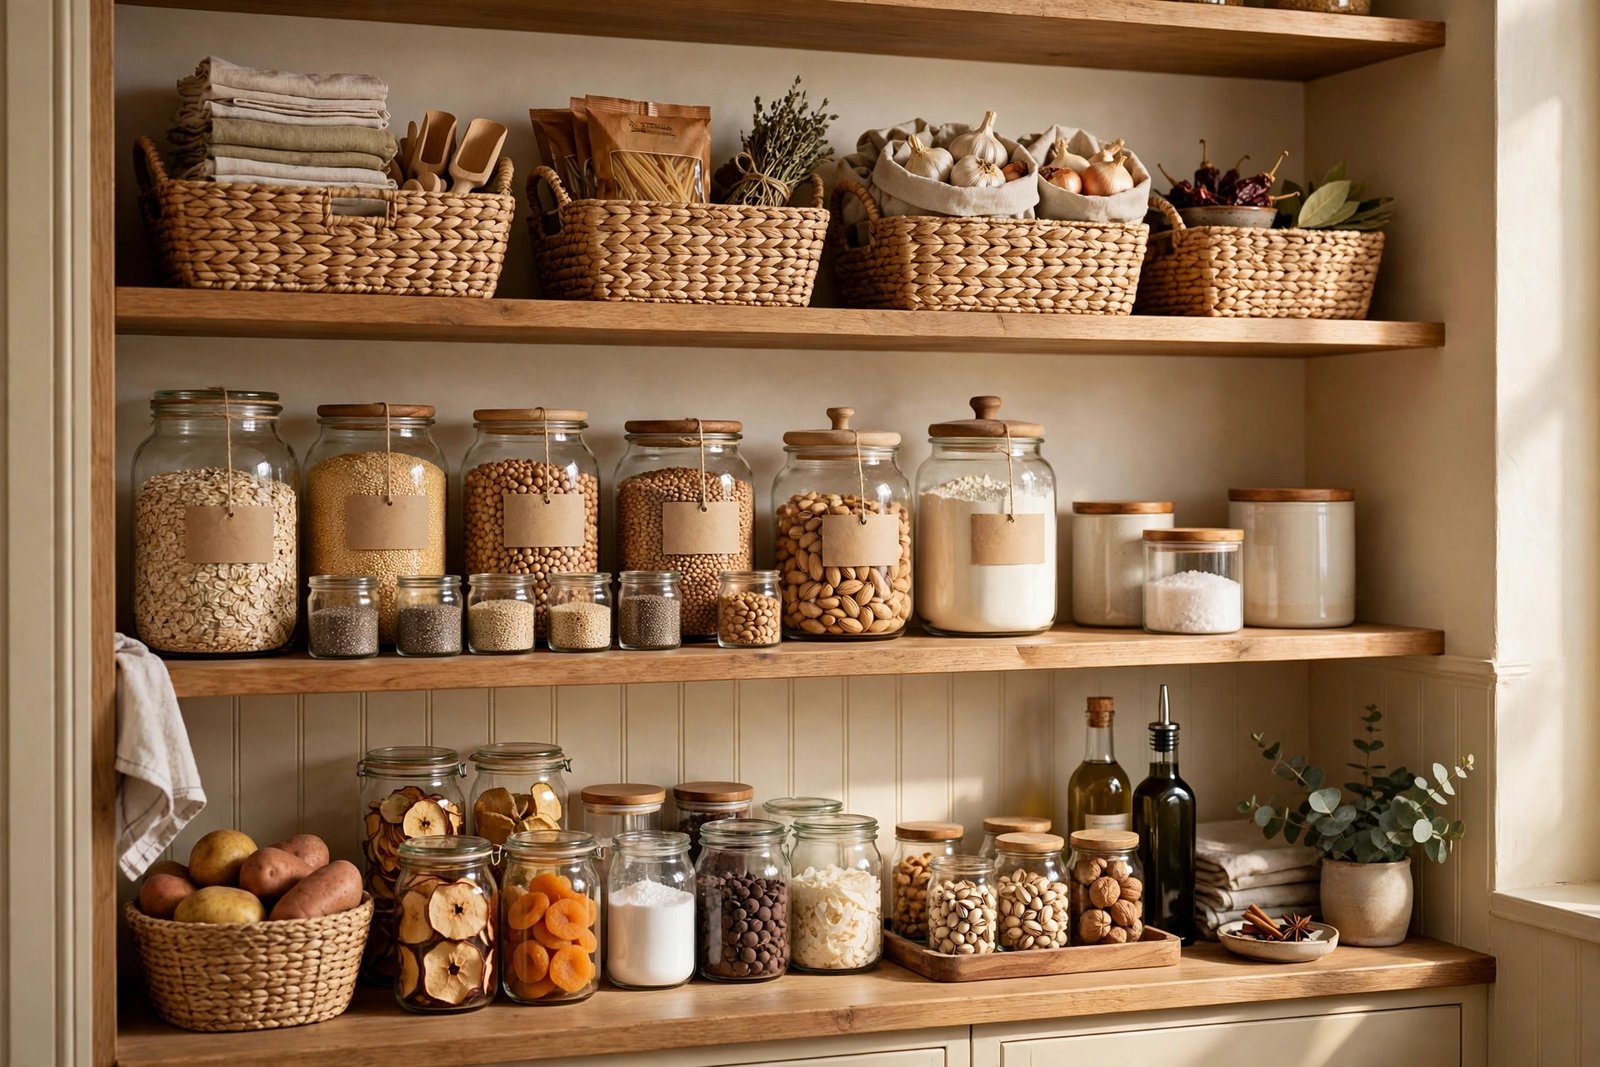
Step 1: Empty It All Out
Take everything out of the pantry — every tin, jar, packet, and mystery container — and put it on the kitchen table or counter. This step feels excessive, and that is the point: you cannot judge what you own while half of it is hidden behind other things. Wipe down every shelf, check for crumbs, spills, and signs of pantry moths, and throw away anything expired, stale, or unidentifiable. Be honest about the duplicates: you do not need four half-used bags of the same flour.
While the shelves are bare, measure them. Note the height between shelves, the depth of each shelf, and the width of the pantry as a whole. These three numbers decide which containers will actually fit, and they prevent the classic mistake of buying beautiful tall jars for a shelf with only 25 centimetres of clearance. If your shelves are deep, plan for bins or turntables now, because depth is where pantry items go to disappear.
Step 2: Sort Into Zones That Match How You Cook
Sort everything into groups based on use, not on food type alone. A zone system that works for most households looks like this: breakfast (cereals, oats, spreads, tea and coffee), baking (flour, sugar, baking powder, chocolate chips), weeknight cooking (rice, pasta, tinned tomatoes, stock, oils, spices), snacks and lunchbox items, and backstock (duplicates and bulk buys). Condiments, sauces, and international ingredients can form their own smaller zones if you cook with them often.
The test of a good zone is whether you can find something without thinking. If you reach for soy sauce while cooking, it belongs with the weeknight cooking zone, not in a separate “Asian ingredients” section you visit once a month. Keep zones small enough to manage — five to seven zones is plenty — and give each zone a defined shelf or section of a shelf, so items do not drift into neighbouring territory over time.
Step 3: Choose Containers That Fit Your Shelves
Containers earn their place only when they solve a real problem. Airtight jars are worth it for flour, sugar, rice, pasta, and cereals: they keep food fresher, keep pests out, and let you see at a glance what is running low. Clear bins are worth it for packets and small items that otherwise fall over — snack bars, sachets, and spice refills. A turntable, or lazy Susan, is worth it for oils, vinegars, and sauces on a deep shelf, because it brings the back row to you.
Do not decant everything. Tins, jars of sauce, and most packets are fine in their original packaging, grouped in a labelled bin. Decanting every item looks impressive on social media and creates a mountain of washing up in real life. Buy containers after measuring, in one consistent style where possible, and leave 10 to 20 percent of your shelf space empty — a pantry packed to the brim cannot stay organized, because there is nowhere to put the shopping away.
Step 4: Place Everything by Frequency and Weight
Put the items you use daily at eye level and within easy reach: breakfast foods, coffee, the oils and spices you cook with every night. Weekly items go one shelf up or down. Rarely used items — the Christmas pudding mix, the fondue set, the bulk backstock — go on the highest shelf or the lowest, where reaching them is a deliberate act rather than a daily stretch. Heavy items always go low, both for safety and because a shelf of tinned tomatoes at head height is an accident waiting to happen.
Within each zone, keep the front of the shelf for what you are currently using and the back for backstock of the same item, so you naturally use the older stock first. Label bins and jars clearly, even if you think you will remember — other members of the household will not, and a labelled system is one that everyone can maintain. A label maker is nice, but masking tape and a marker work just as well.
Keeping It Tidy: The Weekly Reset
Before writing a shopping list, check what you already have. This alone prevents most duplicate buying.
When a new item enters the pantry, the old or empty version leaves immediately — no orphan packets lingering behind.
Once a week, pull forward anything that has drifted, wipe a shelf, and toss anything expired. Small resets beat big overhauls.
Stick a notepad or whiteboard on the pantry door for items as they run out, so the shopping list writes itself.
Packets, sachets, and spice refills belong in a bin, never loose on a shelf where they slide behind larger items.
Every few months, pull everything out for a quick expiry check and zone review — cooking habits change, and zones should too.
Small Pantries and Awkward Spaces
A small pantry needs the same system, just tightened. Use the door: an over-door rack or mounted baskets hold spices, packets, and small jars without taking a single shelf. Stackable bins double usable space on deep shelves, and a shelf riser creates a second level for tins so the back row is visible. If you have no pantry at all, a single kitchen cupboard organized by zones works the same way — the principles do not depend on the size of the space.
For wider kitchen organization, the same zone logic applies elsewhere: our guide to organizing kitchen drawers uses the same approach for cutlery and tools, and if your kitchen is short on space overall, kitchen storage ideas for small kitchens offers more ways to squeeze storage from awkward corners. Pantry organization also pairs naturally with broader pantry organization ideas if you want inspiration for baskets, labels, and layouts.
Pantry Labels and a Simple Inventory That Pays Off
Labels are the cheapest upgrade a pantry can get, and they do more than look tidy. A labelled bin tells every member of the household where things belong, which is the difference between a system one person maintains and a system the whole family maintains. Label the bin, not just the jar: “Baking”, “Snacks”, “Weeknight Cooking” on the front of each bin means a child or a guest can put the shopping away correctly without being told. For jars, label both the contents and the date you filled them, so nothing lingers past its best.
A simple inventory sounds like overkill until you realise how much money duplicate buying wastes. You do not need an app or a spreadsheet: a small whiteboard or a notepad on the inside of the pantry door, where anyone can write down an item the moment it runs out, doubles as your shopping list. Once a month, scan the shelves against that list and check expiry dates on anything you have not touched in a while. This ten-minute habit prevents the two classic pantry failures — buying a third bag of rice while the first two sit forgotten, and discovering mid-recipe that the ingredient you assumed you had expired last year. Good labelling and a casual inventory turn a tidy pantry into a genuinely useful one.
Frequently Asked Questions
Should I decant everything into matching jars?
No. Decant only dry staples you use often — flour, rice, pasta, oats, sugar — where airtight storage genuinely helps. Tins, sauces, and packets are fine in labelled bins in their original packaging.
How do I stop the pantry getting messy again?
Build in a five-minute weekly reset and a one-in-one-out rule. Pantries do not stay tidy by themselves; they stay tidy because someone spends a few minutes a week keeping them that way.
What is the best way to store spices in a pantry?
Together, in one zone, either on a turntable, on a stepped shelf riser, or in a drawer insert. The key is that you can see every jar’s label without moving others out of the way.
How do I deal with deep pantry shelves?
Use bins you can pull out like drawers, or turntables that rotate the back row to the front. Never stack loose packets two or three deep on a deep shelf — the back row will be forgotten.
Where should I keep backstock and bulk buys?
On the highest or lowest shelf, behind or below the item in current use, so you naturally finish the open stock first. Keep bulk buys out of the daily zones so they do not crowd your everyday cooking.
Bringing It All Together
An organized pantry is not a photo opportunity; it is a working system. Empty it, sort it into zones that match how you cook, containerize only what benefits from it, place things by frequency and weight, and protect the result with a five-minute weekly reset. Do that, and you will stop buying duplicates, stop finding expired food at the back, and start cooking from a pantry that actually helps you.
Set aside one afternoon this weekend, measure your shelves before you buy anything, and work through the steps in order. The first time you cook dinner and find every ingredient exactly where you expected it, you will wonder why you tolerated the chaos for so long.