
How to Tile a Bathroom Floor: A Step-by-Step Guide for a Flawless Finish
A freshly tiled bathroom floor changes the whole room. It looks clean, feels solid underfoot, and stands up to daily splashes in a way that vinyl or laminate never quite manages. The good news is that tiling a bathroom floor is one of the most achievable DIY projects in the house: the room is small, the layout is usually simple, and a careful weekend of work can give you a professional-looking result that lasts for decades.
The bad news is that most tiling failures are not caused by a lack of skill. They are caused by skipping preparation. A floor that is not level, not clean, or not properly waterproofed will crack tiles, grow mould in the grout, or flex underfoot no matter how neatly you laid the pattern. This guide walks you through the full process in order: choosing the right tile, preparing the subfloor, planning the layout, laying the tiles, grouting, and sealing. Follow it step by step and you will avoid the mistakes that send so many DIY tilers back to the shop for a second box of tiles.
Key Takeaways
- Preparation decides the result: a level, clean, waterproofed subfloor matters more than laying speed.
- Porcelain tiles are the safest bathroom choice because they absorb almost no water.
- Always dry-lay your pattern from the centre of the room before mixing any adhesive.
- Buy 10 to 15 percent extra tile for cuts, breakages, and future repairs.
- Let adhesive cure fully before grouting, and let grout cure before sealing or showering.
- Sealing grout lines is what keeps a bathroom floor looking new instead of stained and mouldy.
Choosing the Right Tile for a Bathroom Floor
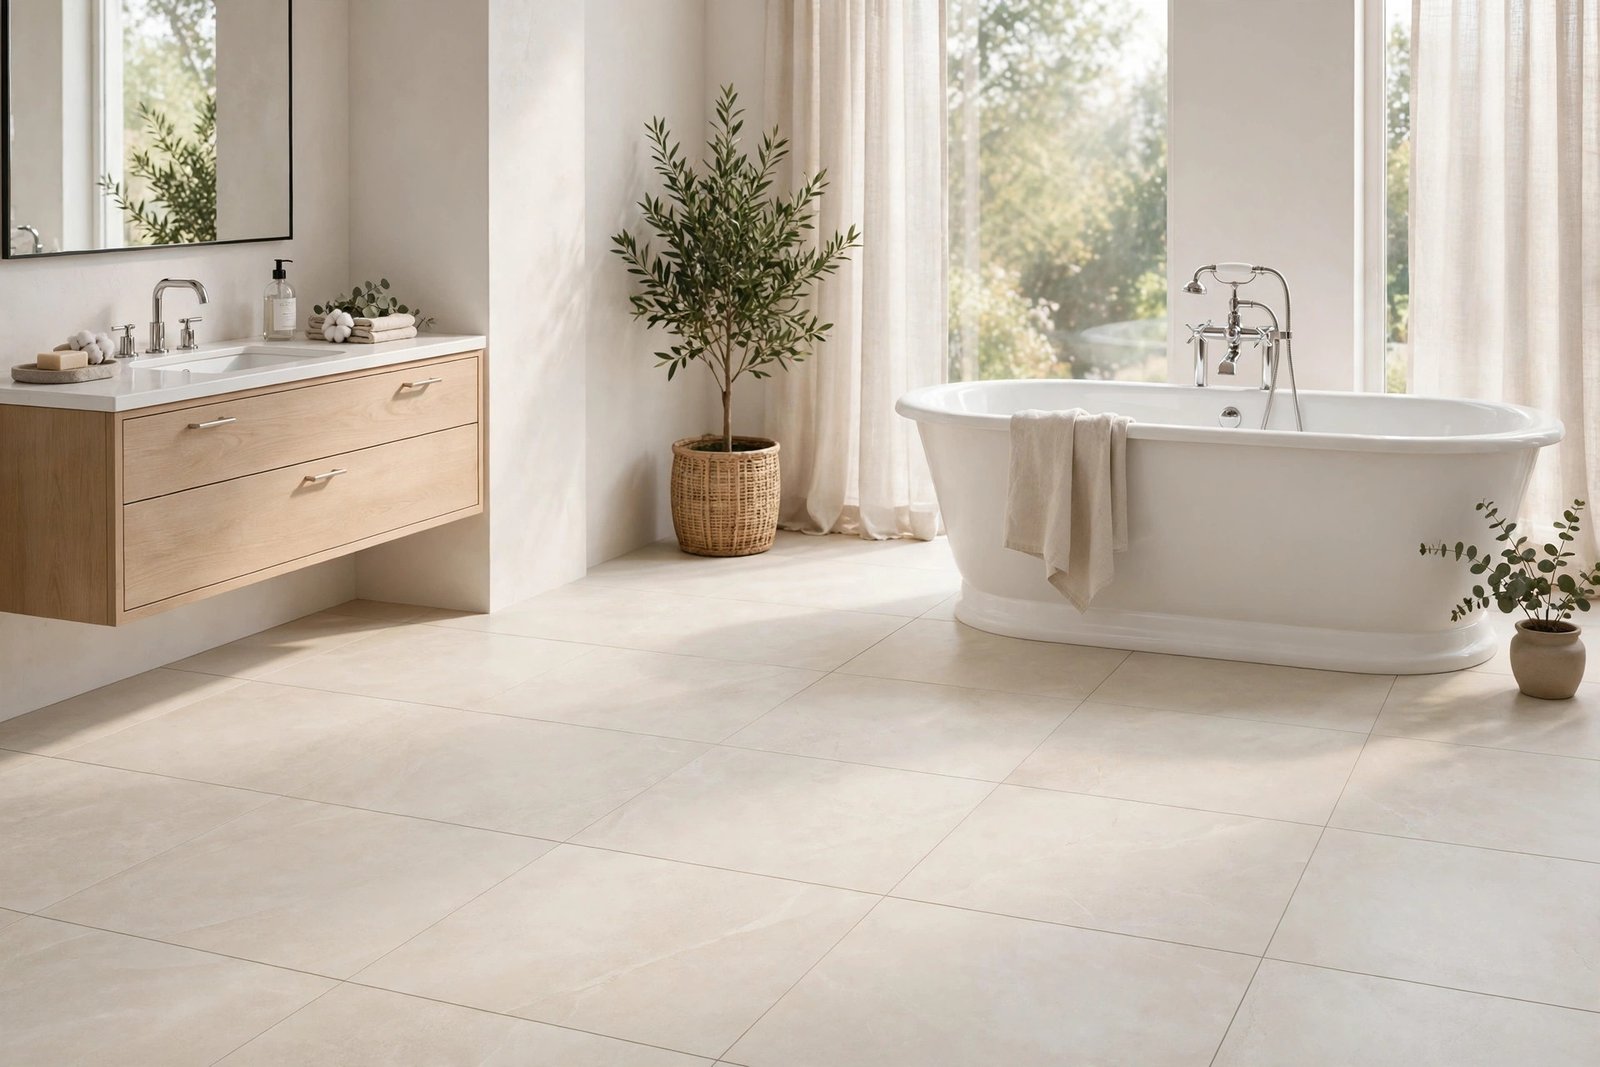
Not every pretty tile belongs on a bathroom floor. Wall tiles are thinner and more fragile, and some natural stones stain or need constant sealing. For a bathroom floor you want a tile rated for floor use, with a slip-resistant surface, in a material that shrugs off water. Porcelain ticks all three boxes: it is dense, hard-wearing, and absorbs less than half a percent of water, which is why it is the default choice for most bathroom renovations.
Ceramic floor tiles are a cheaper alternative and work well in a low-traffic guest bathroom, but they are slightly more porous and chip more easily. Natural stone such as slate or travertine looks beautiful and feels luxurious, yet it needs sealing before grouting and regular resealing afterwards, and it can stain from hair dye, fake tan, or cleaning products. If you love the stone look but not the maintenance, a porcelain tile printed to mimic stone gives you almost the same appearance with none of the upkeep.
Size matters too. Large-format tiles (600 by 600 millimetres and up) mean fewer grout lines, which means less cleaning and a more spacious feel in a small bathroom. They do demand a flatter floor, though, because a large tile will rock on even a small bump. Smaller tiles and mosaics forgive uneven floors and grip bare feet better, which makes them a smart choice for a shower floor or a family bathroom. Whatever size you pick, check the slip rating and choose a matt or textured finish rather than a high-gloss one for the floor itself.
Tools and Materials You Will Need
Gather everything before you start, because tiling stops and starts badly: adhesive has a working time, and a mid-job trip to the shop can ruin a batch. You will need tiles, flexible floor tile adhesive, grout, grout sealer, tile spacers, a notched trowel sized for your tile, a tile cutter or wet saw, a spirit level, a chalk line, a tape measure, a pencil, a sponge, a grout float, and buckets. Add a primer if your subfloor needs one, a waterproof tanking membrane for wet areas, and a backer board if you are tiling over timber floorboards.
Buy your adhesive and grout as a matched system from the same brand where possible, and check that the adhesive is rated flexible if you are tiling over wood or underfloor heating. Cement-based adhesive is the standard for bathroom floors; ready-mixed tub adhesive is convenient for walls but is not suitable for most floor installations. Keep the room warm and dry while you work, and never tile onto a damp floor.
Preparing the Subfloor: The Step You Must Not Skip
Remove the old flooring completely, right down to the subfloor, and take off the skirting boards and the toilet so you can tile underneath them for a clean finish. Sweep and vacuum thoroughly, then check the floor with a long spirit level. Any dip or hump over a few millimetres across a tile’s width needs levelling compound or sanding before you begin. A tile laid over a hollow will crack the first time someone steps on it hard.
Over concrete, prime the surface if the adhesive manufacturer recommends it, and repair any cracks with a suitable filler. Over timber floorboards, screw the boards down firmly so nothing moves or squeaks, then fix cement backer boards over the top with screws and adhesive, staggering the joints so they do not line up with the floorboard joints. This gives the adhesive a stable, rigid surface to grip. If the floor will get regularly wet, for example around a walk-in shower, apply a liquid waterproofing membrane over the backer board and up the wall a little way, following the product’s instructions exactly. Waterproofing is invisible once the tiles are down, which is exactly why it gets skipped, and exactly why so many bathroom floors fail years later.
Planning the Layout Before You Mix Adhesive
Find the centre of the room by measuring each wall and snapping chalk lines between opposite midpoints. Dry-lay a row of tiles along each line with spacers between them, working outwards from the centre, and see where the cut tiles land at the walls. The goal is to avoid a sliver of tile — anything narrower than half a tile — at any visible edge. If a sliver appears, shift the whole layout by half a tile in that direction and re-check.
This centre-out approach also decides what you see when you walk in. The full tiles should face the doorway, with cuts tucked under the bath, behind the toilet, and along the least visible wall. Sketch the layout on paper, mark where the toilet waste and any pipes fall, and plan those cuts in advance. A few minutes with a pencil here saves hours of awkward cutting later, and it is the difference between a floor that looks designed and one that looks improvised.
Laying the Tiles, One Section at a Time
Mix a small batch of adhesive to a thick, creamy consistency and spread it over about one square metre with the flat side of the trowel, then comb it with the notched side, holding the trowel at roughly 45 degrees so the ridges are even. Press the first tile into place at the centre cross, twisting it slightly to bed it into the adhesive, and check it with the spirit level. Place spacers at the corners and continue outward, checking level every few tiles rather than discovering a slope at the end of a row.
Work in sections, and do not spread more adhesive than you can tile in about twenty minutes. Wipe adhesive off the tile faces as you go with a damp sponge, because dried adhesive is miserable to remove later. For cuts, measure each one individually — walls are rarely straight — and mark the tile before cutting. A manual cutter handles straight cuts in ceramic and thinner porcelain, while a wet saw is worth hiring for thick porcelain or any curved cut around a pipe. Leave the toilet waste and pipe cuts until last, when the main field is done and you can measure them calmly.
Once every tile is laid, leave the floor completely alone for the adhesive manufacturer’s recommended curing time, usually at least 24 hours. Walking on it early is the classic way to loosen a tile that looked perfect, and no amount of grout will fix a tile that has lost its bond.
Grouting, Cleaning, and Sealing
Remove all the spacers and vacuum the joints so no adhesive crumbs or dust weaken the grout. Mix the grout to a smooth paste and press it into the joints with a rubber grout float held at a diagonal angle, working it in firmly so there are no voids. Scrape off the excess with the float, then wait until the grout firms up slightly — usually 15 to 30 minutes — before wiping the tiles with a barely damp sponge, rinsing frequently. A second, lighter wipe after an hour removes the remaining haze.
Let the grout cure for the time stated on the bag, often 48 to 72 hours, before sealing. Apply grout sealer with a small brush or applicator bottle along each joint, wipe any excess off the tile faces, and let it dry. Sealer does not make grout waterproof forever, but it buys you months of stain resistance and makes routine cleaning far easier. In a shower area, repeat the sealing every six to twelve months as part of your normal bathroom care. Keeping the grout clean from the start is far easier than restoring it later — our guide to cleaning grout covers the routine, and if hard water is already marking your fittings, see how to remove hard water stains from bathroom fixtures.
Common Mistakes and How to Avoid Them
Starting at a wall guarantees awkward slivers at the far side. Always start from the centre and adjust before adhesive is mixed.
Timber floors need backer boards. Tile laid directly on springy boards will crack along the board joints within months.
Adhesive skins over in 20 minutes or so. Work in small sections so every tile beds into fresh, wet adhesive.
One tile edge sitting higher than its neighbour catches feet and mops. Check with a level and a straightedge as you go.
Grouting over uncured adhesive traps moisture and weakens the bond. Wait the full curing time, even if the floor looks ready.
Leave a small gap around the room’s perimeter, hidden by skirting or sealant, so the floor can expand without cracking.
Frequently Asked Questions
Can I tile over existing bathroom floor tiles?
Sometimes, if the old tiles are solid, level, and firmly bonded, and the added height will not cause problems at doors and fittings. In most cases, though, removing the old floor gives a better, longer-lasting result and avoids height issues with the toilet and door.
How long does it take to tile a bathroom floor?
A small bathroom usually takes one day to lay and one day to grout, plus curing time before it can be used. Preparation — removing the old floor, levelling, and waterproofing — can add another day, so plan for a full weekend.
What size grout joint should I use?
For most bathroom floor tiles, 3 to 5 millimetres works well. Rectified large-format tiles can go as narrow as 2 to 3 millimetres, while handmade or uneven tiles need wider joints to absorb the variation.
Do I need to seal porcelain tiles?
Glazed porcelain itself does not need sealing, but the grout joints do. Unsealed grout absorbs water, soap, and dirt, which leads to staining and mould. Seal the grout once it has cured.
When can I use the shower after tiling?
Wait until both the adhesive and the grout have fully cured and the sealer has dried — typically at least 72 hours after grouting. Showering too early washes grout out of the joints and weakens the whole floor.
Bringing It All Together
Tiling a bathroom floor rewards patience more than speed. Choose a floor-rated porcelain tile, prepare and waterproof the subfloor properly, dry-lay your pattern from the centre, and give the adhesive and grout their full curing times. Each step is simple on its own; together they produce a floor that looks professional and stays that way.
If you are tackling a wider bathroom refresh, keep the momentum going: a clean, well-sealed tile floor makes the rest of the room easier to maintain, from keeping mould out of the shower to sorting a slow drain with our shower drain guide. Measure twice, cut once, and enjoy a bathroom floor you can be proud of for years.