26 Kitchen Layout Ideas with Island You’ll Wish You Tried Sooner
Ever walked into a kitchen and thought, “Wow… this is where I’d actually enjoy burning toast”? Yep, that’s the magic of a great kitchen layout with an island. Whether you’re into sleek modern vibes, rustic charm, or you just want a spot to sip coffee while pretending to check emails, your island can be the star of the show.
I’ve tested, admired, and occasionally drooled over more kitchens than I’d like to admit. So, let’s talk about 26 island layouts that will make you actually want to spend time in your kitchen even when it’s not mealtime.
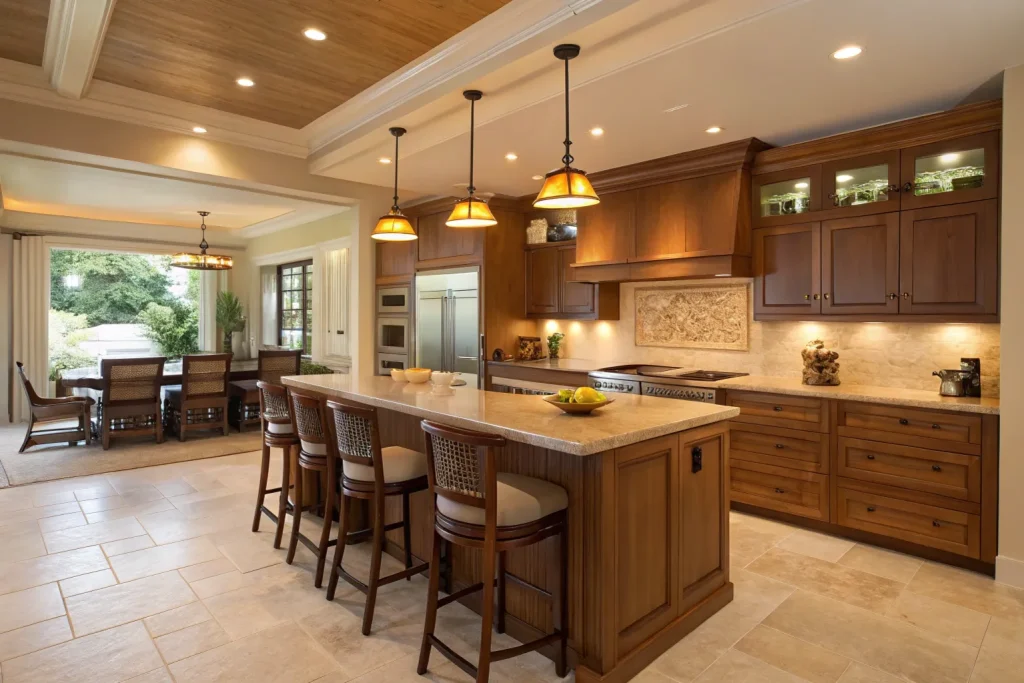
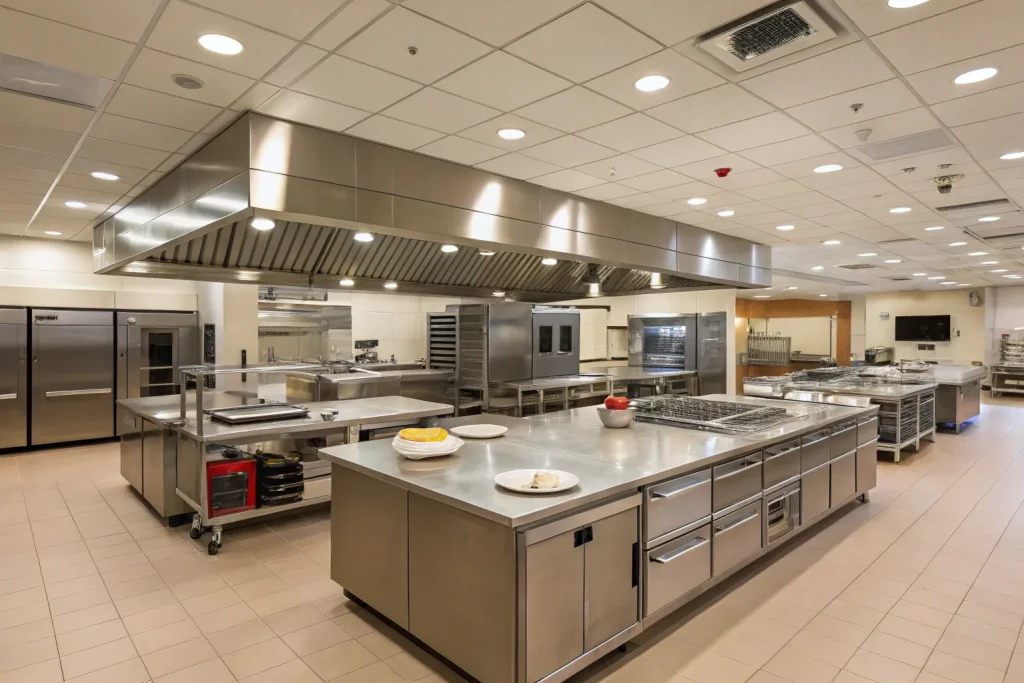
1. The Classic Center Island
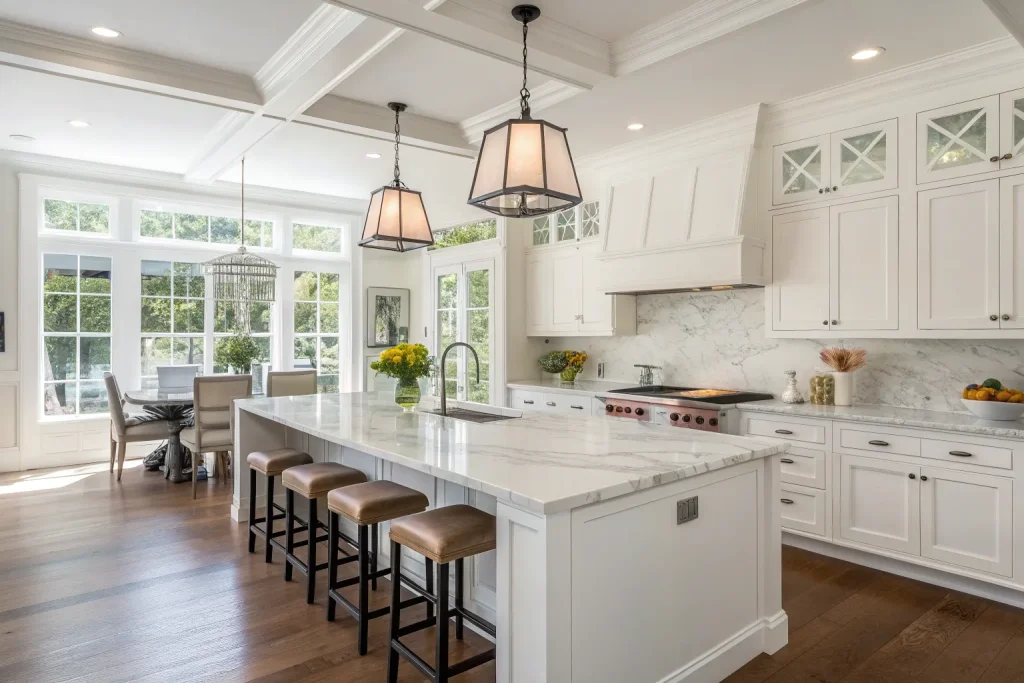
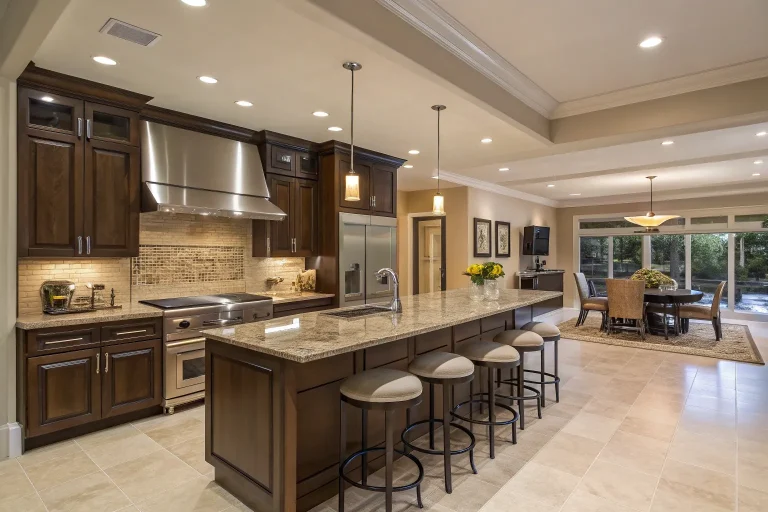
A classic center island creates perfect balance in your kitchen and keeps everything within reach while cooking or serving. It works in almost any kitchen style and adds a focal point that feels natural. This layout is practical and timeless, making it worth the investment. Approximate cost: $3,500–$7,000 (moderate to expensive depending on materials).
Pro Tips
- Measure at least 36–42 inches clearance around the island.
- Choose a countertop material that suits your cooking habits.
- Add drawers underneath for extra storage.
- Use pendant lights to highlight the space.
- Keep traffic flow in mind when placing appliances nearby.
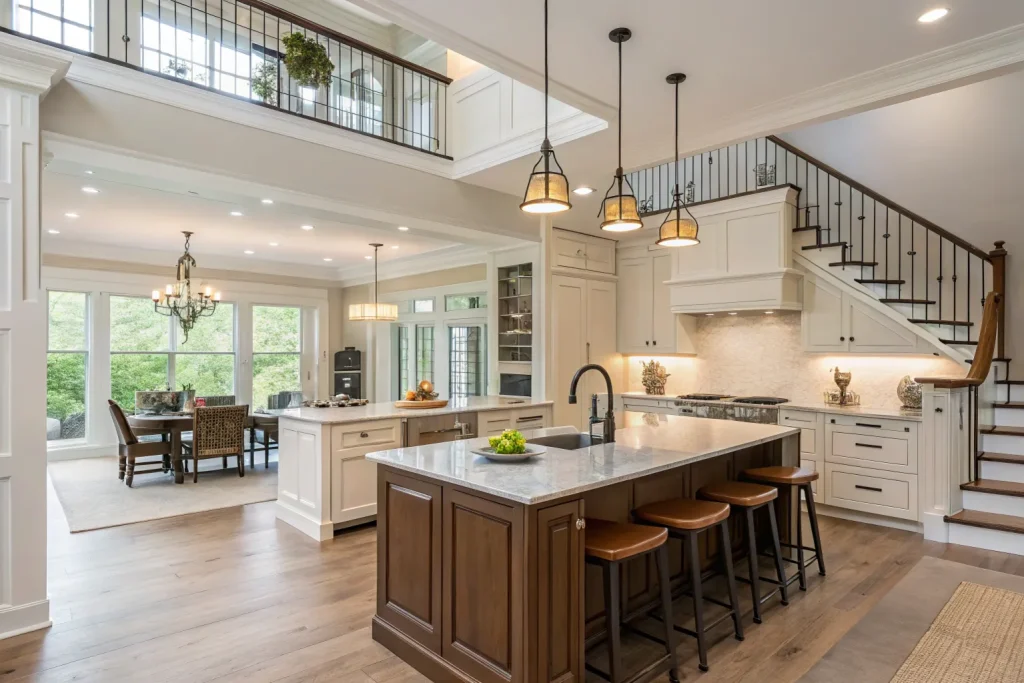
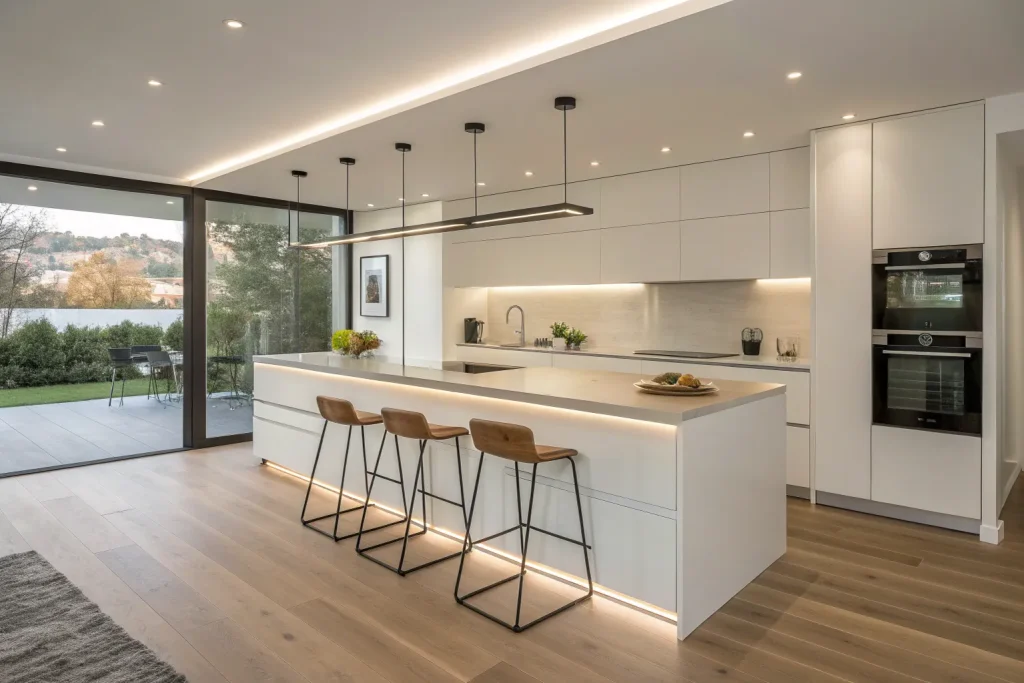
2. The Breakfast Bar Island
A breakfast bar island combines casual dining and meal prep in one spot. It’s great for quick meals, entertaining guests, or keeping the family close while you cook. This design works for both small and large kitchens. Approximate cost: $2,500–$6,000 (moderate).
Pro Tips
- Use comfortable bar stools with back support.
- Extend the countertop at least 12 inches for legroom.
- Place outlets under the counter for convenience.
- Add under-counter lighting for ambiance.
- Match the bar finish to your cabinet design for cohesion.
3. The Waterfall Edge Island
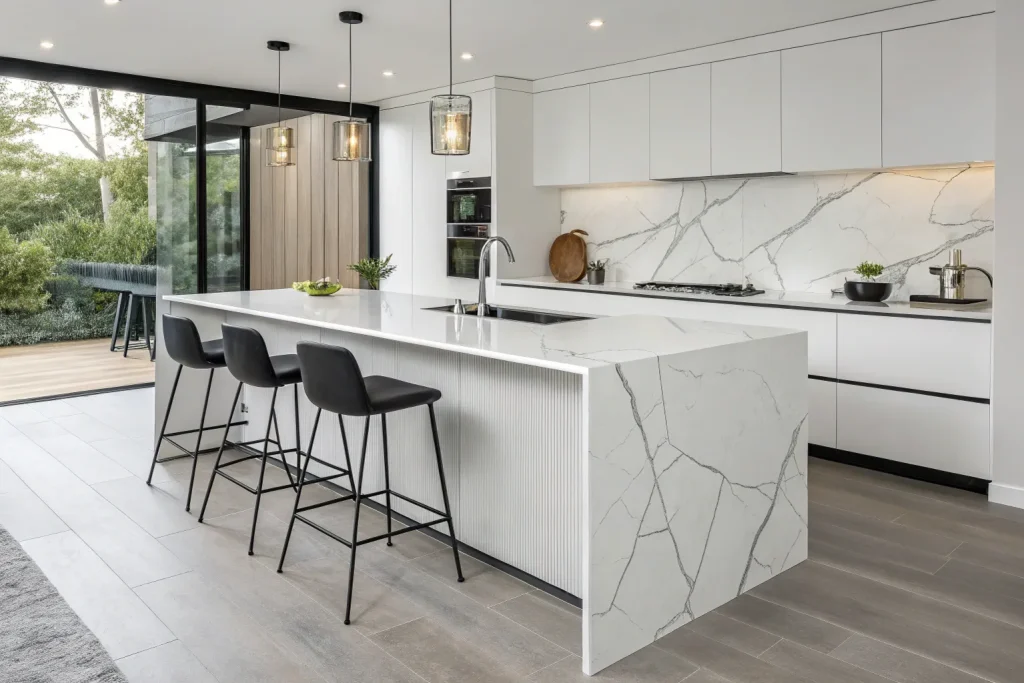
The waterfall edge island makes a bold, modern statement with its seamless countertop drop on both sides. It’s visually stunning and adds luxury to any kitchen. This layout works best with natural stone or engineered quartz. Approximate cost: $4,000–$10,000 (expensive).
Pro Tips
- Choose a stone with striking veining for impact.
- Seal the surface to prevent stains.
- Pair with minimalist cabinets for a modern feel.
- Use hidden storage to keep surfaces clean.
- Consider LED strip lighting under the counter edge.
4. The Two-Tier Island
A two-tier island separates prep and dining areas while maximizing counter use. It keeps messy cooking zones hidden from guests and provides different heights for different tasks. This is perfect for open-plan homes. Approximate cost: $3,000–$7,500 (moderate to expensive).
Pro Tips
- Keep the dining tier 42 inches high for comfort.
- Add pendant lights over the higher tier.
- Use contrasting materials for visual interest.
- Incorporate extra outlets on both levels.
- Plan seating spacing of at least 24 inches per person.
5. The L-Shaped Island
An L-shaped island adds extra corner space for prep, storage, or seating. It’s functional for large kitchens and offers multiple work zones. This design also allows more people to use the island at once. Approximate cost: $3,500–$8,000 (expensive).
Pro Tips
- Keep one leg shorter for better movement flow.
- Install deep drawers in the corner for storage.
- Add under-counter lighting to brighten work areas.
- Use the shorter side for seating.
- Choose a durable surface for heavy use.
6. The U-Shaped Island
A U-shaped island surrounds you with counter space, creating a chef’s dream setup. It allows multiple people to prep and cook at the same time. Perfect for large kitchens that can handle the footprint. Approximate cost: $5,000–$12,000 (very expensive).
Pro Tips
- Ensure at least 48 inches walkway on all sides.
- Use each section for a specific task.
- Add a prep sink on one arm for efficiency.
- Install multiple outlets for appliances.
- Choose open shelving on one side for accessibility.
7. The Mobile Island

A mobile island gives flexibility to small kitchens by allowing movement when needed. You can roll it out for prep and tuck it away after. It’s a budget-friendly and space-saving solution. Approximate cost: $300–$1,500 (cheap to moderate).
Pro Tips
- Pick lockable wheels for safety.
- Use lightweight materials for easier movement.
- Add hooks for hanging utensils.
- Opt for a butcher block top for versatility.
- Store it where it doesn’t block walkways.
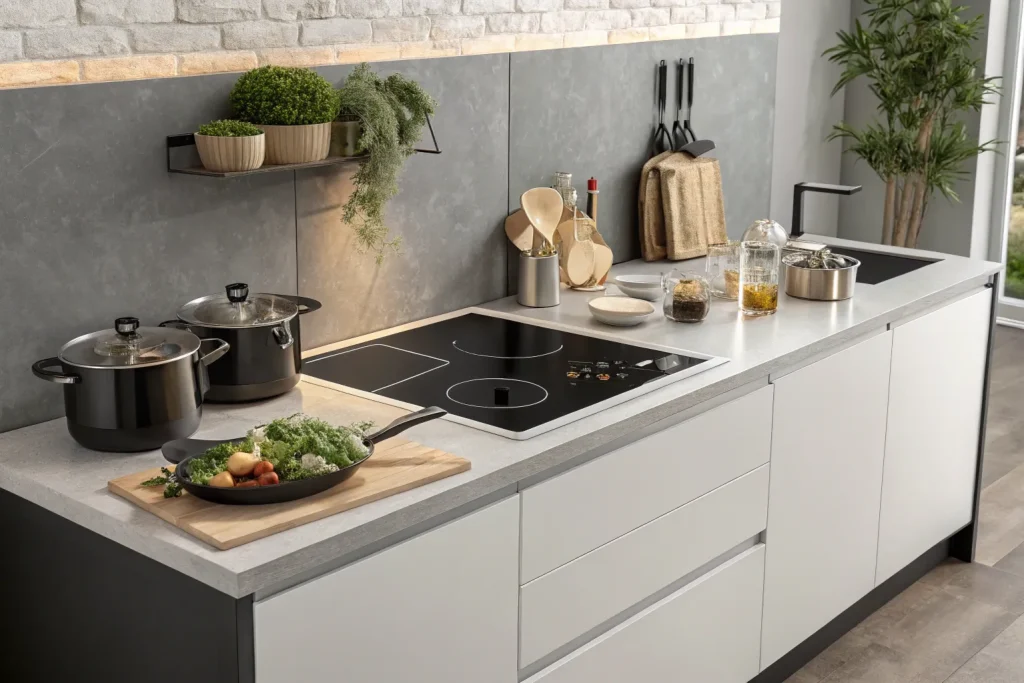
8. The Minimalist Slim Island
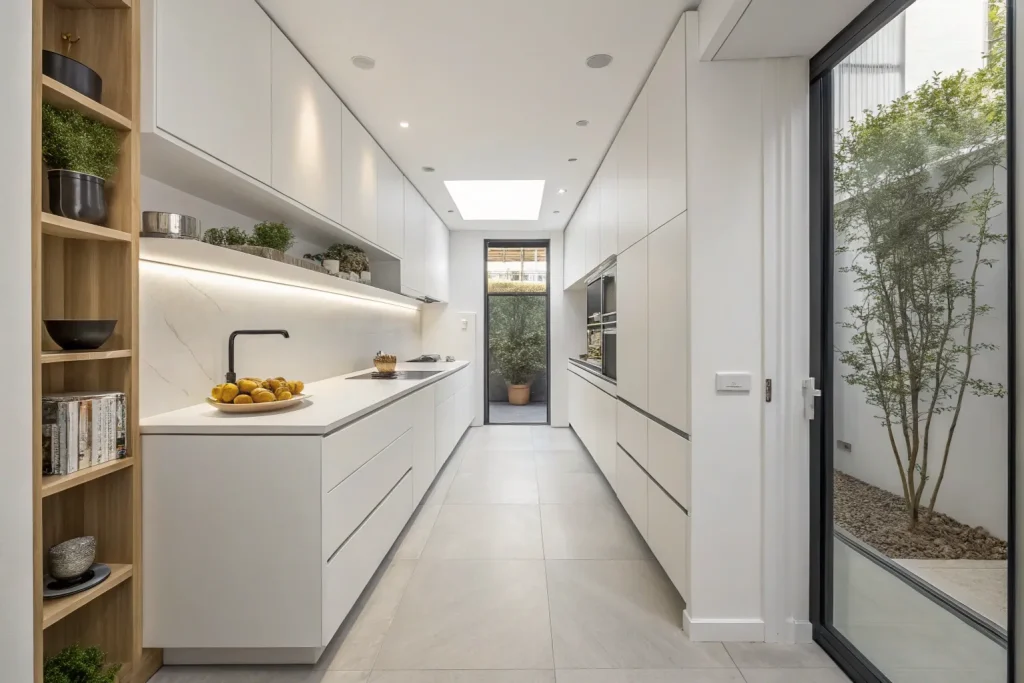
A slim island adds prep space without crowding a small kitchen. It’s sleek, functional, and works well for apartments or tight layouts. Minimalism keeps the area feeling open and uncluttered. Approximate cost: $1,000–$3,000 (cheap to moderate).
Pro Tips
- Keep width under 24 inches for small kitchens.
- Use light colors to make the space look bigger.
- Add open shelves for a lighter look.
- Keep decor minimal for a clean style.
- Consider fold-out extensions for extra space.
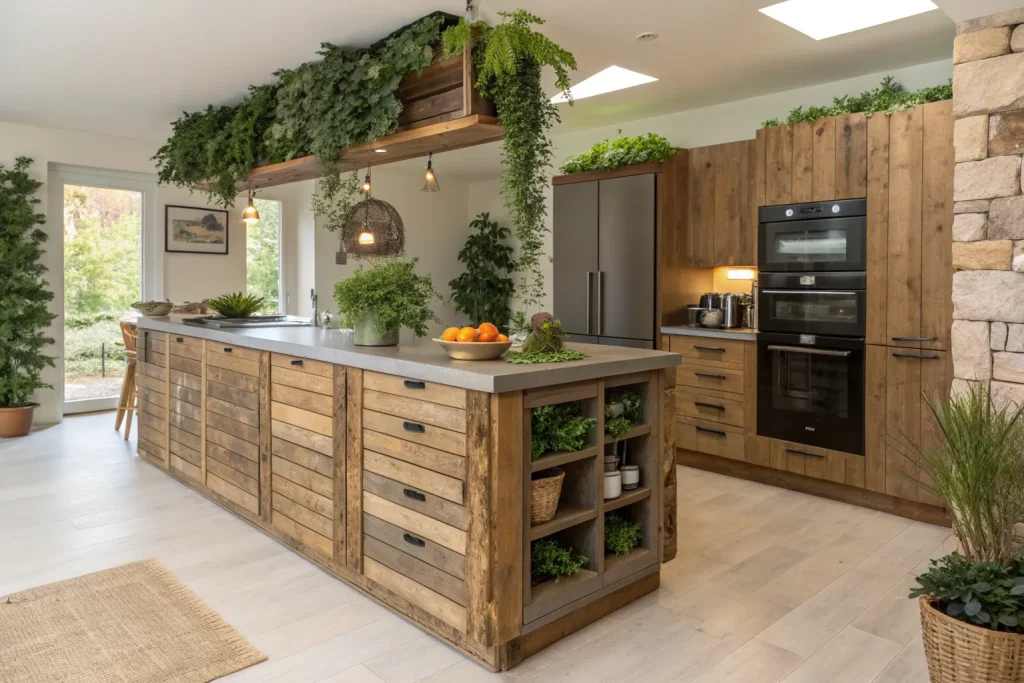
9. The Rustic Farmhouse Island
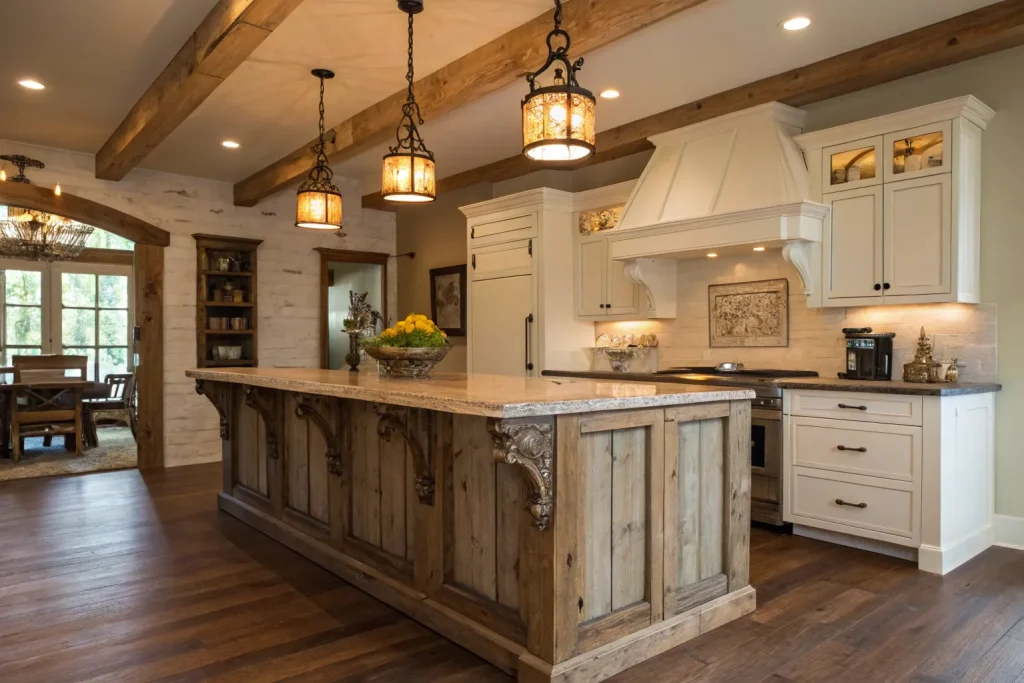
A rustic farmhouse island brings warmth and charm with natural wood tones and sturdy craftsmanship. It blends beautifully with vintage or country-style kitchens and creates a welcoming centerpiece. This layout is timeless and easy to pair with other rustic elements. Approximate cost: $2,500–$6,000 (moderate).
Pro Tips
- Use reclaimed wood for authenticity.
- Add decorative corbels under the counter.
- Keep finishes matte for a natural look.
- Pair with open shelving for farmhouse appeal.
- Choose warm-toned lighting to enhance the mood.
10. The Industrial Steel Island
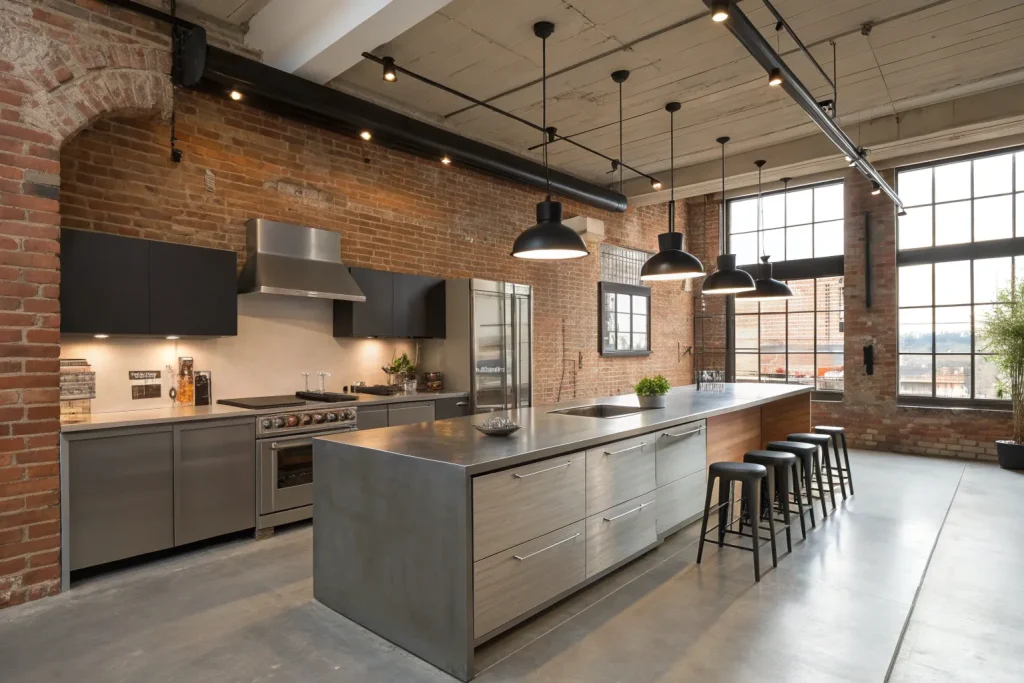
An industrial steel island delivers a sleek, modern edge with incredible durability. It’s perfect for high-use kitchens where function meets style. The metallic finish pairs well with exposed brick or concrete. Approximate cost: $3,000–$7,500 (moderate to expensive).
Pro Tips
- Opt for brushed steel to hide fingerprints.
- Add caster wheels for mobility if desired.
- Use stainless steel appliances for a cohesive look.
- Pair with black pendant lighting for drama.
- Keep decor minimal to maintain the industrial vibe.
11. The Island with Built-in Sink

Adding a sink to your island keeps washing and prepping in one spot, making cooking faster and easier. It works well for both large and medium kitchens. This layout boosts workflow and convenience. Approximate cost: $3,500–$8,500 (expensive).
Pro Tips
- Install a pull-down faucet for versatility.
- Include a garbage disposal for quick cleanup.
- Use waterproof materials around the sink.
- Position the sink for easy access to the dishwasher.
- Add good task lighting above the sink area.
12. The Island with Built-in Cooktop
Cooking on your island keeps you engaged with guests and offers a central prep station. It’s ideal for open-plan kitchens and social gatherings. This layout turns your island into a culinary hub. Approximate cost: $4,000–$9,000 (expensive).
Pro Tips
- Install a downdraft vent for a clean look.
- Keep prep space on both sides of the cooktop.
- Choose heat-resistant countertop materials.
- Add utensil drawers directly underneath.
- Maintain clear zones to avoid clutter.
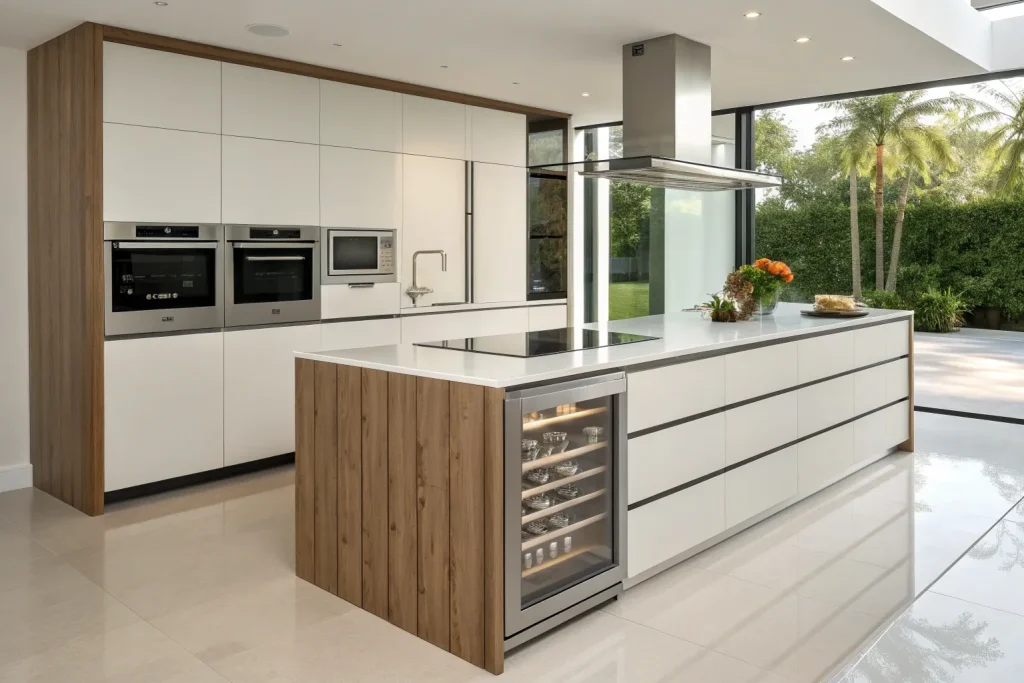
13. The Island with Wine Fridge
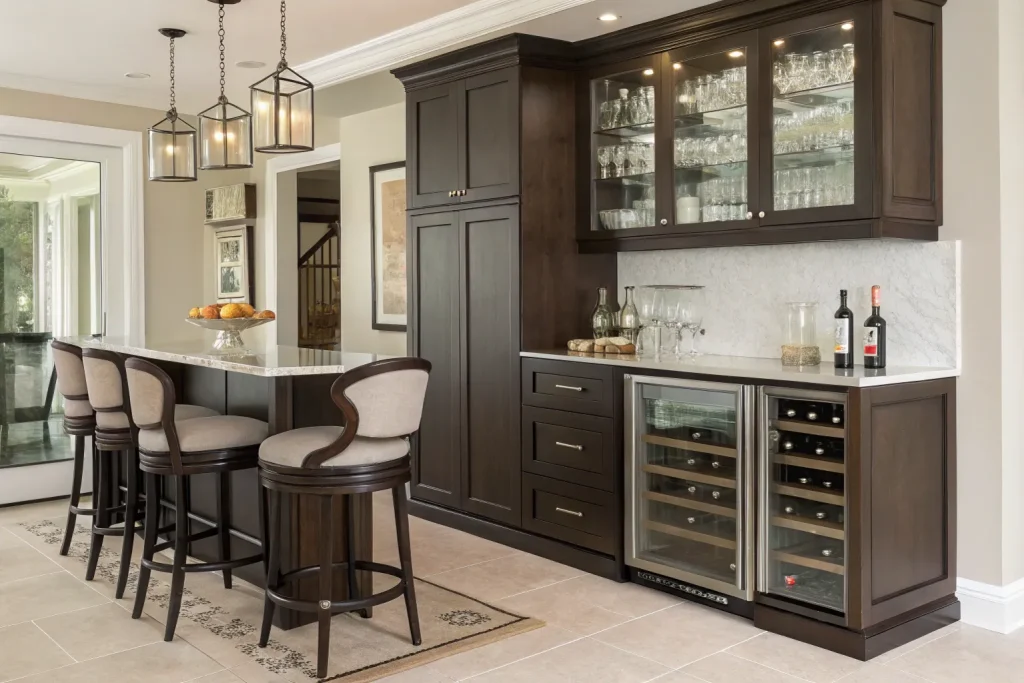
An island with a wine fridge adds convenience and a touch of luxury. It’s perfect for entertaining or just enjoying your own collection. This layout keeps beverages easily accessible. Approximate cost: $2,000–$5,000 (moderate).
Pro Tips
- Place the fridge away from heat sources.
- Choose a fridge with dual temperature zones.
- Install glass doors for display appeal.
- Keep it at a comfortable height for access.
- Pair with a small bar setup nearby.
14. The Island with Hidden Storage

Hidden storage makes your island a secret powerhouse for organization. It’s great for keeping clutter out of sight while maintaining a clean look. This layout works for any kitchen size. Approximate cost: $2,500–$6,500 (moderate).
Pro Tips
- Add pull-out trash and recycling bins.
- Use deep drawers for large pots.
- Incorporate vertical dividers for baking sheets.
- Hide small appliances in lift-up cabinets.
- Keep handles minimal for a sleek design.
15. The Extended Dining Table Island

Combining your island with a dining table saves space and creates a seamless social zone. It’s perfect for small apartments or open layouts. This layout blends cooking and dining into one functional space. Approximate cost: $3,000–$7,000 (moderate to expensive).
Pro Tips
- Use durable finishes for both areas.
- Keep dining chairs lightweight for flexibility.
- Add pendant lighting over the table section.
- Position the table end for easy serving.
- Choose a surface easy to clean after meals.
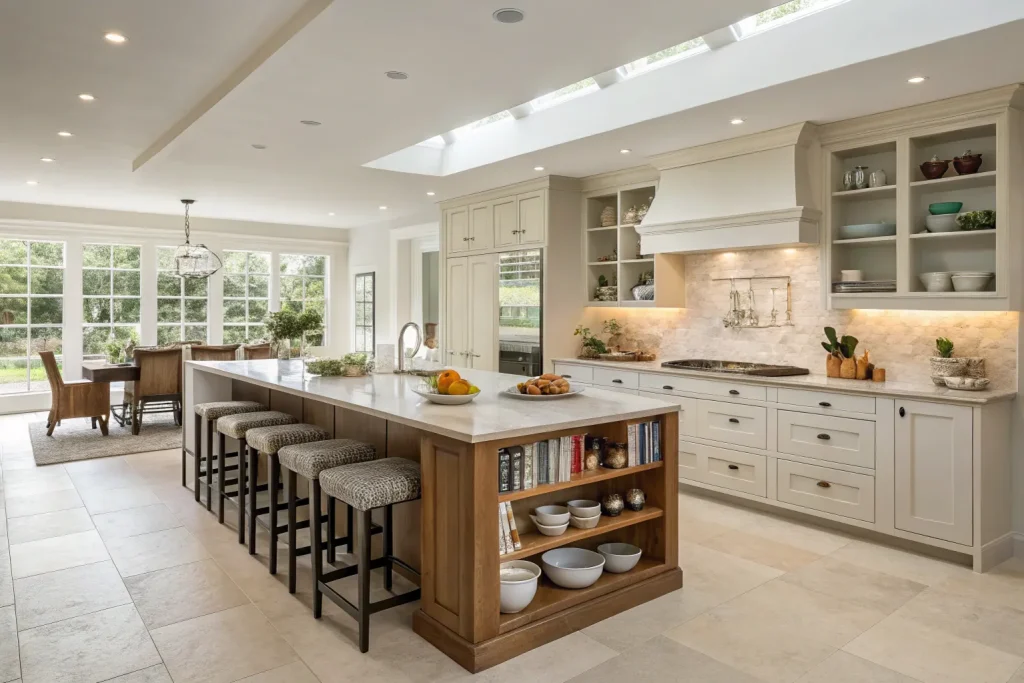
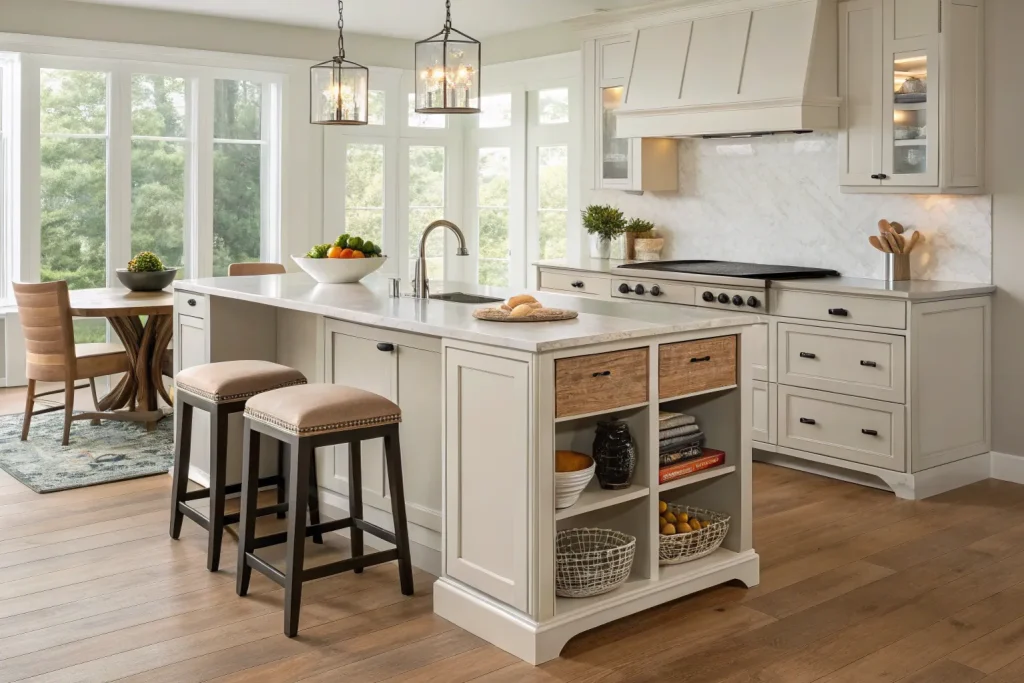
16. The Open Shelf Island

Open shelves keep essentials within easy reach while adding a decorative touch. It’s perfect for showcasing dishes, cookbooks, or plants. This layout makes the island feel airy and less bulky. Approximate cost: $1,500–$4,000 (cheap to moderate).
Pro Tips
- Keep shelves organized to avoid clutter.
- Use baskets for small items.
- Rotate decor seasonally for freshness.
- Dust regularly to keep shelves clean.
- Choose sturdy materials for heavy items.
17. The Contrasting Color Island
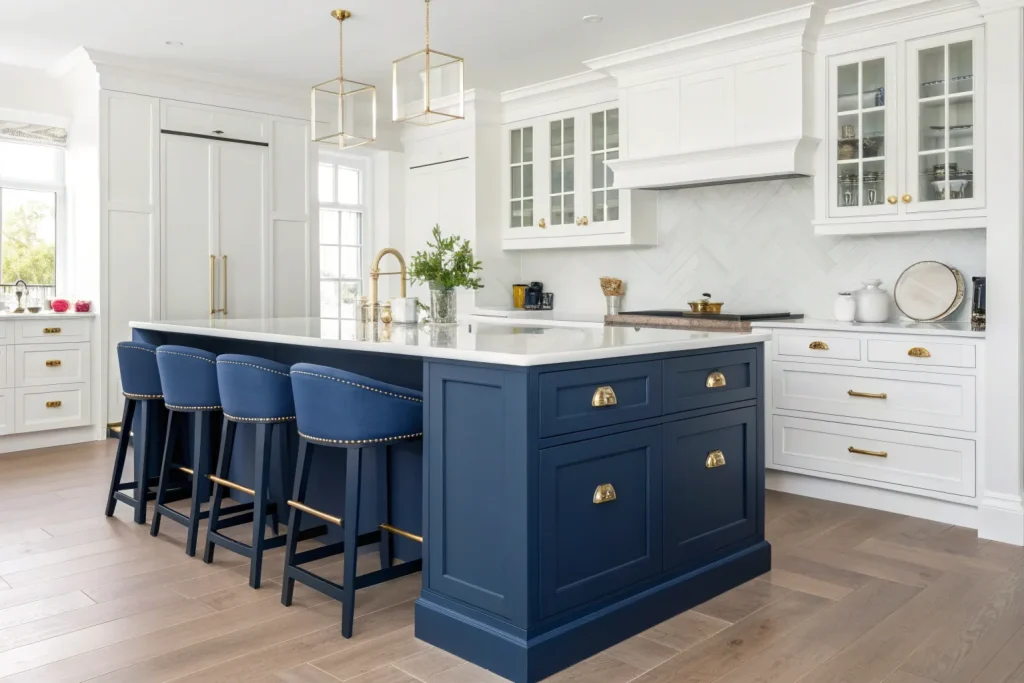
A contrasting island color adds instant personality and visual interest. It can modernize your kitchen without replacing all cabinetry. This layout works in both bold and subtle palettes. Approximate cost: $1,800–$4,500 (cheap to moderate).
Pro Tips
- Pick a color that complements your main cabinets.
- Use a neutral countertop to balance the look.
- Add matching bar stools for style unity.
- Test paint samples in different lighting.
- Repaint every few years to refresh.
18. The Stone Slab Island
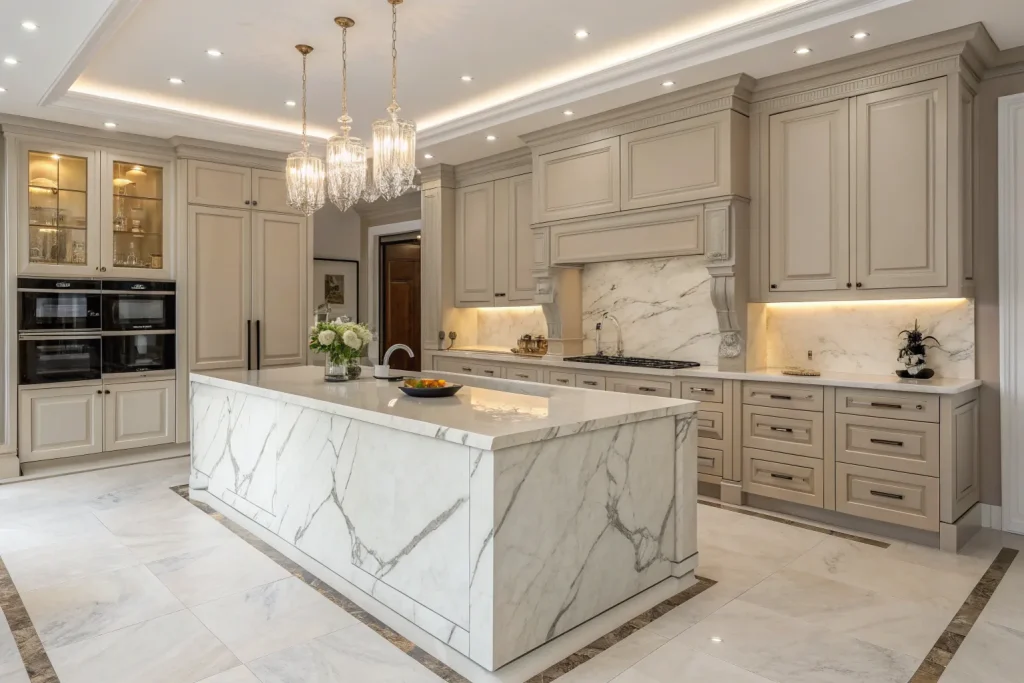
A stone slab island brings unmatched elegance and durability. It’s a standout feature in luxury kitchens and ideal for baking. The cool surface is perfect for dough prep. Approximate cost: $5,000–$12,000 (very expensive).
Pro Tips
- Seal natural stone to prevent stains.
- Use under-cabinet supports for heavy slabs.
- Pair with subtle cabinetry to let the stone shine.
- Avoid harsh cleaners on the surface.
- Choose a timeless stone pattern for longevity.
19. The Island with Breakfast Nook
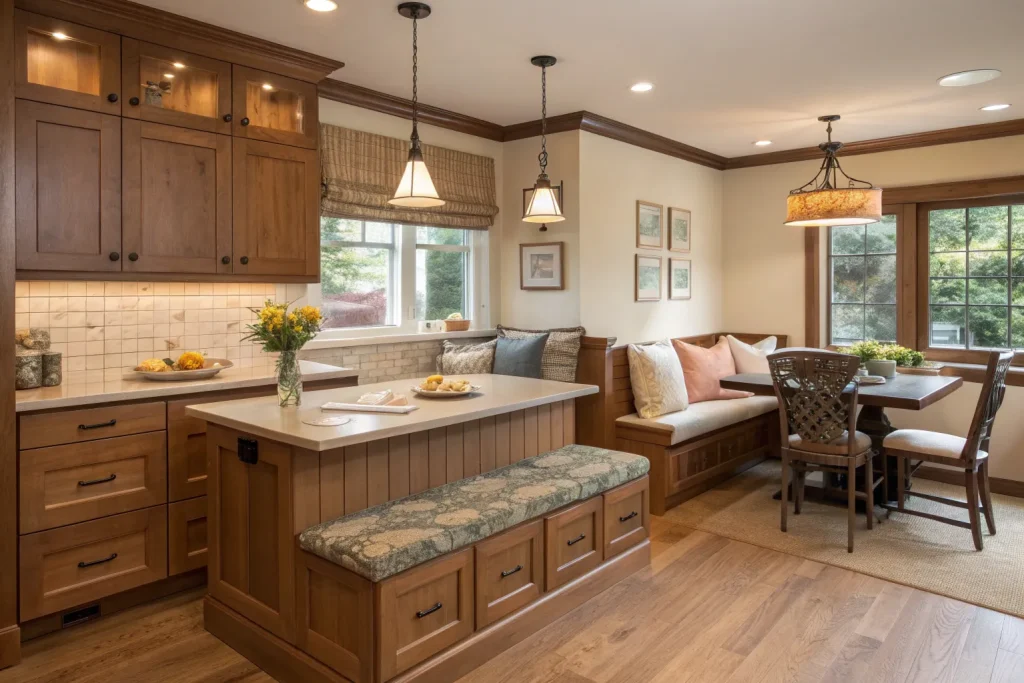
Adding a breakfast nook to your island creates a cozy dining spot. It’s great for family meals or casual coffee mornings. This layout is space-efficient and inviting. Approximate cost: $2,500–$6,000 (moderate).
Pro Tips
- Use cushioned seating for comfort.
- Incorporate storage under the benches.
- Add a pendant light directly above.
- Choose wipeable fabrics for seating.
- Keep the nook near natural light if possible.
20. The Double Island Layout
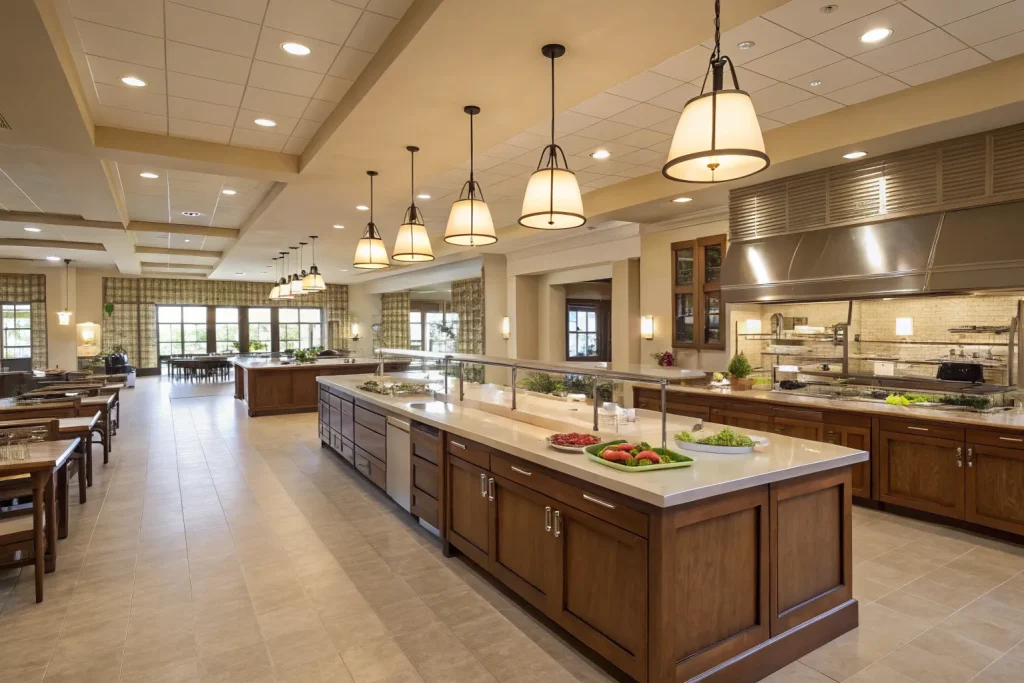
A double island layout doubles your prep and serving space. It’s perfect for large kitchens and frequent entertaining. This setup separates cooking from hosting duties. Approximate cost: $8,000–$20,000 (very expensive).
Pro Tips
- Designate one island for prep, the other for dining.
- Keep enough walkway space between islands.
- Use matching materials for a cohesive look.
- Add a sink to at least one island for function.
- Ensure both islands have proper lighting.
21. The Curved Island

A curved island softens the kitchen’s look and improves traffic flow. It’s stylish and safer for families with kids. This design feels welcoming and unique. Approximate cost: $4,000–$9,000 (expensive).
Pro Tips
- Use a rounded overhang for seating.
- Choose smooth finishes for the curve.
- Pair with curved pendant lighting.
- Keep the curve subtle for space efficiency.
- Match the curve to other design elements.
22. The Multi-Level Island
A multi-level island serves multiple functions at once. Different heights work for cooking, dining, or working. This layout adapts easily to varied needs. Approximate cost: $3,500–$8,000 (moderate to expensive).
Pro Tips
- Keep the lowest level at standard table height.
- Use contrasting materials for each level.
- Assign outlets to each height for versatility.
- Add lighting tailored to each zone.
- Maintain clear separation between prep and eating areas.
23. The Outdoor Kitchen Island

An outdoor kitchen island brings the cooking fun outside. It’s perfect for BBQs, summer drinks, and gatherings. This setup is both practical and a lifestyle upgrade. Approximate cost: $4,000–$15,000 (expensive).
Pro Tips
- Use weatherproof materials.
- Include a built-in grill for convenience.
- Add shade for comfort.
- Keep storage for outdoor dining essentials.
- Install proper lighting for evening use.
24. The Island with Built-in Appliances
Built-in appliances make your island a complete workstation. You can include a dishwasher, oven, or microwave for efficiency. This setup reduces back-and-forth movement. Approximate cost: $5,000–$12,000 (very expensive).
Pro Tips
- Place appliances at ergonomic heights.
- Ensure proper ventilation for cooking appliances.
- Choose panel-ready designs for a seamless look.
- Keep appliance placement logical to workflow.
- Plan for extra electrical outlets.
25. The Floating Island
A floating island feels airy and modern with visible legs instead of a solid base. It makes small kitchens feel bigger. This layout is stylish and practical for light storage. Approximate cost: $2,000–$5,000 (moderate).
Pro Tips
- Use slim legs for a sleek appearance.
- Keep storage minimal to maintain openness.
- Choose a countertop that matches the airy feel.
- Add under-island lighting for drama.
- Pair with lightweight stools.
26. The Statement Lighting Island

Statement lighting transforms your island into a design focal point. It adds character while improving visibility for cooking and dining. This layout works with any island style. Approximate cost: $1,500–$4,500 (cheap to moderate).
Pro Tips
- Choose fixtures that match your kitchen style.
- Hang lights 30–36 inches above the countertop.
- Use dimmers for mood control.
- Go bold with shapes or colors for impact.
- Ensure lighting covers the entire island surface.
Final Thoughts
A kitchen island layout can completely change how your space feels and works. From classic and cozy to modern and show-stopping, there’s an option here for every style, budget, and excuse to host dinner. IMO, once you get to an island, you’ll wonder how you ever survived without it.
Now, which one’s calling your name the bold statement piece, the sleek modern setup, or the wine fridge dream? 😉